Last updated November 17, 2026






Free written scope consultation - allowances, timeline, and change-order rules on paper before a single trade is scheduled
Bathroom Remodeling Troubleshooting: Common Problems and How to Fix Them
Grout cracking within the first year of a bathroom remodel isn’t a grout problem. It’s almost always a substrate movement or waterproofing failure that the grout is just the first visible casualty of. We’ve torn out tile in North Miami Beach homes where the grout looked fine at handover and started spidering within eight months, and in nearly every case the culprit sat two layers below the surface: a cement board screwed to a floor that flexes, a shower bench built from wood that swells, or a waterproofing membrane rolled on thin and never tied into the drain flange. This guide walks you through the failures homeowners actually call us about and shows you how to trace each symptom back to its root cause, so you fix the right thing instead of repainting a ceiling that will stain again in six weeks.
Quick Answer
Most post-remodel bathroom problems in North Miami Beach – cracked grout, loose tile, recurring mold, paint peeling above the shower – trace back to the waterproofing and substrate stage, not the finish. Fixing the symptom (re-grouting, repainting, scrubbing mold) buys months, not years; fixing the root cause means addressing the membrane, the framing, or the plumbing rough-in underneath. Diagnosing the correct layer first is what separates a permanent repair from a repeat visit.
Styles & brands we work with
- Kitchen remodeling
- Bathroom remodeling
- Home additions & ADU
- Roofing
- Windows & doors
- Driveway & pavers
- Fence
Table of Contents
- A symptom-to-root-cause map for the eight most common bathroom failures
- How to tell whether the waterproofing was done right, based on failure patterns
- South Florida humidity and the failures it accelerates
- Plumbing rough-in problems that surface after the tile is set
- Low water pressure after a remodel: what changed and why
- Persistent mold and peeling paint: airflow, exhaust, and vapor
- Warranty claim, insurance claim, or standard repair: the framework
- The correct sequence for a real fix
A Symptom-to-Root-Cause Map for the Eight Most Common Bathroom Failures
Start with the symptom and work backward. In our North Miami Beach experience, homeowners usually describe what they see, not what happened, so we’ve built a rough diagnostic table that engineers the conversation down to the right layer. None of these are guesses. Each one reflects a pattern we’ve seen enough times to recognize on sight.
- Hairline cracks following grout lines, floor or wall: substrate flex or fasteners backing out. The grout is moving with the board. Cement board screwed to undersized joists, or installed over a wood subfloor without a decoupling layer, produces this within 6-18 months.
- Grout powdering or receding near the shower floor: water sitting behind the tile – failed mortar bed, missing weep protection at the drain, or a membrane lapped the wrong direction. This is the most expensive symptom because it usually means the setting bed is saturated.
- Loose tile that “clicks” when stepped on: thinset not bonded (hollow spots are common when mortaring over a dirty or dusty cement board), or floor deflection beyond L/360. Subfloor framing, not tile, is often the root.
- Mold returning within weeks in the shower perimeter: the shower isn’t drying between uses. Exhaust underpowered for the room volume, or the tile is a cement board with a surface-applied paint membrane that’s been punctured at the niche or valve cutout.
- Paint peeling above the shower and on the ceiling: interior moisture reaching standard paint. Bathroom-rated paint peels too when applied over a surface that hasn’t cured or when the exhaust isn’t moving air.
- Water pooling at the shower perimeter or leaking to the floor below: failed shower pan. This is a rebuild, not a patch.
- Musty odor with no visible mold: moisture in the framing cavity. You’ve got a leak behind the finish. Thermal camera or moisture meter is the diagnostic step.
- Low pressure at one fixture vs. all fixtures: localized = aerator, cartridge, or supply line; whole-room = main line, pressure-reducing valve, or a rough-in that was downsized during the remodel.
We’ve pulled tile in a home off NE 163rd Street where the “grout problem” was actually an original 1970s copper line that had been roughed-in through a new shower valve body with a defective seat. The grout cracked because the valve was weeping into the wall cavity for nine months. Fixing the grout would have hidden the leak until the framing rotted through. Getting this right starts with knowing which layer owns the symptom before anyone touches a trowel.
How to Tell Whether the Waterproofing Was Done Right, Based on Failure Patterns
Properly installed waterproofing is invisible when it works and nearly invisible when it fails – until the failure pattern emerges, usually 6-24 months after handover. We’ve learned to read those patterns. There are two main families of waterproofing in residential bathrooms, and each has its own failure signature.
- Surface-applied liquid membranes (the painted-on blue, red or green coatings). Correct installation requires a primer, two coats at the manufacturer’s specified wet-film thickness, mesh reinforcement at all changes of plane, and – this is where most failures live – a proper tie-in to the drain flange using the manufacturer’s drain collar. Rolled too thin, applied in one coat, or cut around the drain with a bead of caulk instead of the specified collar, the membrane will fail at the shower floor within two years.
- Sheet membranes (bonded fleece waterproofing like the Schluter system). Correct installation requires unmodified thinset embedding the sheet, seams overlapped the specified amount, and a full band of membrane over every change of plane. Failures show as water reaching the cement board at the corners and the curb first – corners are where the installer sped up.
- Cement board alone, with no membrane. Not waterproofing. Cement board is water-tolerant but not a barrier. Every shower built this way eventually absorbs water into framing through the seams, which is why the pattern in the field is mold on the exterior of the shower wall, in the bedroom behind it, or staining on the ceiling below.
Diagnosing which one you have is usually possible without demolition. A moisture meter held to the wall just above the shower curb, and a visual inspection of the drain from the ceiling below if the bathroom sits over an unfinished space, will tell you in a few minutes whether the membrane is holding. If the drain flange was installed without a membrane collar and the setting bed has been wet for more than a season, the repair isn’t a re-grout – it’s a shower pan rebuild. Understanding that distinction early is the difference between a $400 patch and a $4,500 rebuild.
South Florida Humidity and the Failures It Accelerates
We work in a climate that punishes shortcuts that would survive a dry state for a generation. A bathroom in Phoenix runs at 30% relative humidity for most of the year. A bathroom in North Miami Beach runs at 75% and above for most of the year, so construction assemblies that depend on drying have no drying window. Design choices that work in a dry climate fail here on a predictable timeline.
- Frameless glass showers with no ventilation path. The “open concept” shower is beautiful and, in a North Miami Beach bathroom with an undersized exhaust fan, becomes a mold incubator. Effective exhaust in our climate is a fan rated for the room’s cubic footage, vented to the exterior – not to the attic.
- Exterior wall framing without a vapor strategy. A bathroom on an exterior wall needs to handle vapor from both sides. In South Florida’s humid exterior air, the wrong insulation or vapor barrier position traps moisture in the stud bay. This is one of the leading causes of hidden mold behind tile – and it’s invisible until someone pulls the wall.
- Wood blocking inside shower benches and niches instead of cement board or foam-board. Wood absorbs, swells, and moves. Grout cracks follow. Tile shows movement cracks in six to twelve months in our climate in a way we rarely see in drier markets.
- Paint and caulk that come with interior ratings. A standard interior latex paint above a shower will fail within a season in North Miami Beach. Bathroom-rated paint with mildewcide, applied over properly prepared substrate and paired with working exhaust, is the correct spec.
- Exterior-grade considerations treated as interior ones. Bathrooms along the ocean-facing side of North Miami Beach – think homes East of US-1 toward the Oleta River and the beach side – see salt air plus high humidity. Fasteners, corner beads and any metal trim in the shower assembly need corrosion-resistant spec, or you’ll be dealing with paint blistering and metal corrosion staining at year two.
In one North Miami Beach home near the Intracoastal, we replaced a shower built with standard gypsum behind tile because the original installer assumed the paint-over would hold. It hadn’t. The wall was so damp at the shower perimeter that the paper face of the gypsum had gone soft within eighteen months. The moisture source wasn’t a leak; it was normal shower use with no path for vapor to escape. That’s a South Florida failure mode – and it’s why we spec exhaust, vapor strategy and materials together, not as separate line items.
Plumbing Rough-In Problems That Surface After the Tile Is Set
Rough-in errors are the most expensive failures because they’re buried under a fixed finish. The plumbing walls are already tiled, the fixture is set, and the failure shows up as a slow leak, a drip on the ceiling below, or a fixture that stops working months after handover. The diagnostic challenge is identifying whether the problem is the cartridge (easy), the valve body (moderate), or the line behind the wall (surgical).
Here’s the framework we use:
- Confirm the fixture, not the wall. Shut off the fixture supply, remove the trim, and use a mirror or a phone camera inside the wall cutout. A weeping valve body shows as staining on the backing behind the trim. A sweating supply line shows condensation only when the shower runs. Nine out of ten “there’s a leak behind the wall” calls are actually valve cartridge failure – a few hundred dollars, not a rebuild.
- Isolate the valve body. If the cartridge is fresh and the trim still shows moisture behind it, the valve body itself is likely the source. Replacing a valve body behind set tile requires opening the wall around the fixture. The good news: the opening is often the trim cutout plus a few inches, not a full wall demolition.
- Access-from-behind is the ideal. If the shower backs onto a closet, hallway, or garage, opening the back of the wall – not the tile side – saves the shower. This is the single most underused trick in bathroom troubleshooting, and it works in a lot of North Miami Beach homes where the bathroom sits against an interior wall.
- Saw-cutting is the last resort. When the valve is on an exterior wall or dead-center of a tiled wall facing a mirrored vanity, opening from the front is unavoidable. In that case, cut a clean, well-measured opening, repair the plumbing, and re-tile. We build a corresponding repair allowance into the estimate so there’s no surprise when it happens. Sometimes it’s the right call.
The plumbing rough-in is also where a lot of the pressure problems originate. If a remodel replaced an older 1/2-inch line with a length of 3/8-inch because that’s what was on the truck, pressure at the shower drops and it doesn’t recover until the restriction is removed. Fixture performance is a rough-in outcome, not a faucet outcome.
Low Water Pressure After a Remodel: What Changed and Why
Water pressure that drops immediately after a bathroom remodel almost always reflects something introduced during the work, not a sudden municipal problem. The trick is narrowing it to one of four causes in order of likelihood. From a North Miami Beach diagnostic standpoint:
- Fixture-level restriction (most common). Low-flow aerators, flow restrictors in a new shower head, or a cartridge that wasn’t flushed before installation. Debris from the rough-in gets caught in the aerator screen. This is a five-minute check at the fixture, and it’s usually the answer.
- Supply line restriction introduced during rough-in. A new valve body with a smaller internal diameter, or a pex fitting with a sharp elbow where a sweep was needed. If pressure is low at the shower and normal everywhere else in the house, the line or valve behind that wall is the culprit.
- Whole-house pressure drop. If pressure fell at every fixture in the house, look at the pressure-reducing valve (PRV). If the remodel involved any change to the main line, a partially closed valve or a new PRV set too low will affect everything. Check pressure at an exterior hose bib with a gauge. If it reads below 45 psi at the hose bib, the PRV is the likely culprit – and it’s a service call, not a bathroom rebuild.
- Water heater changeout. A new tankless install can feel like low pressure because hot water delivery drops while the unit ramps. If it’s a tanked swap and pressure feels weak, the dip tube may have been installed wrong, which is a legitimate warranty issue.
We’ve seen a shower valve installed in a North Miami Beach bathroom where the valve body was plumbed in reverse (hot/cold swapped at the ports). Water pressure was fine; the temperature mixer was working against itself and the owner experienced “pressure” issues that were really the anti-scald limiting hot flow. Reverse-plumbed valves are more common than they should be. Diagnosing this means running hot and cold at the valve body cutout, and it’s the kind of thing a pressure gauge at the fixture won’t tell you. A light hand at the valve plus a temperature check at the outlet does.
Persistent Mold and Peeling Paint: Airflow, Exhaust, and Vapor
Bathroom mold that returns within weeks is a ventilation problem, a moisture-source problem, or both – and North Miami Beach is the climate where those two are almost always present together. The mistake is treating mold as a surface issue (scrubbing, spraying, repainting) when the material is just the visible expression of a moisture diagnosis.
We approach it in this order:
- Confirm the exhaust fan moves air. A bathroom needs roughly 1 CFM of exhaust per square foot of floor area, or 50 CFM minimum for smaller rooms. Hold a tissue to the grille; if it doesn’t pull to the fan, it’s not working. Then look behind the fan – if the flex duct terminates in the attic, it’s doing nothing. The duct has to run to the exterior with a damper. In our experience, at least half the “mold keeps coming back” calls in North Miami Beach resolve to fan duct termination problems once we look behind the ceiling.
- Check whether the fan actually runs after the shower. A fan on a five-minute delay switch is fine. A fan the homeowner forgets is not. Timer switches and humidity-sensing switches fix the behavior side of the equation, and they’re inexpensive. Consider them a standard part of a fix.
- Look for a hidden moisture source. If a bathroom has properly working exhaust and mold still returns above the shower and on the ceiling, the source is behind the wall. Moisture meter at the top of the shower wall, thermal camera at the entry surrounds. The pattern of mold over time tells you where to look. Mold concentrated on the ceiling above the shower: exhaust. Mold concentrated on the exterior wall faces: wall vapor strategy. Mold inside the shower: membrane or setting bed.
- Peeling paint above the shower is a vapor problem, not a paint problem. Standard interior paint will fail on a shower ceiling in our climate with almost no effort. Bathroom-rated or exterior-grade paint over properly prepared drywall, plus working exhaust, is the correct prescription. Repainting only without fixing the cause is the most common and most wasteful repair we see.
One North Miami Beach homeowner called us after two separate painters had recoated a shower ceiling that had peeled. The exhaust fan was present. The duct was terminated against the insulation in the attic. We fixed the duct, added a timer switch, and repainted with the right product. It’s held since. That’s a $600 fix that two painters had each charged $350 to defer.
Warranty Claim, Insurance Claim, or Standard Repair: The Framework
Homeowners get stuck on this question more than any other: is this a contractor warranty claim, an insurance claim, or just a repair I pay for? The distinction matters because each path requires different evidence and different timing. Here’s the framework we use to think through it, and we encourage every homeowner to apply the same one before they call anyone.
- Contractor warranty claim (workmanship failure). The failure appears in the first year or two, is clearly tied to installation (loose tile, failing grout from substrate movement, a leak that traces to a specific installation detail, a fixture installed wrong). The evidence: photos of the failure, the original contract, the start and completion dates, and a written description of when the symptom appeared. This is where the length and terms of a workmanship warranty become real, and it’s why we tell clients the 730-Day Done Right Promise is written down and not implied.
- Insurance claim (sudden event). A pipe burst, a fixture that failed catastrophically, a supply line that let go while you were out. Insurance covers sudden, accidental water damage – not gradual failures. If a shower pan has been leaking slowly for two years and the ceiling below has stained progressively, that’s an insurance adjuster’s nightmare. Gradual seepage is typically excluded. If there was a sudden event, document immediately: photos, dates, times, and the width of the affected area. Get the adjuster out before cleanup goes further.
- Standard repair (out-of-warranty, non-covered, or pre-existing). The failure is outside the workmanship warranty window, was present before the remodel, or traces to a maintenance item (caulk lines, aerator screens, grout maintenance). Not glamorous, but predictable – and this category is where careful maintenance and a clear warranty matter, because you want to know exactly which failures were locked out by warranty and which you’re handling yourself.
We keep a documentation checklist on hand for every bathroom project – photos of every stage, signed inspection logs, and the final materials list – because warranty claims are won or lost on evidence. Homeowners should keep their own copy of the same. When our clients in North Miami Beach ask what to file away, we tell them: the contract, the final invoice, dated photos of the work in progress, and any email trail of warranty conversations. If a problem shows up in year two, that paper trail is what makes the difference between a fix on our dime and a repair you pay for.
The Correct Sequence for a Real Fix
Repair sequences matter as much as the repairs themselves. We’ve been called in after a homeowner or a handyman repaired the finish before diagnosing the root cause, and the sequencing mistake doubled the cost. Here’s the order that actually works, whether the problem is a shower pan, a mold outbreak, or a cracked tile floor.
- Stop the moisture source first. No repair survives a live leak. If there’s active water, cut the supply, fix the plumbing, verify the fix with a 24-hour moisture reading before moving on.
- Diagnose which layer owns the failure. Using the symptom-to-root-cause map above. If you’re not sure, moisture-meter readings at multiple points tell you whether the humid zone is the shower surface, the framing cavity, or the room air.
- Open what needs opening, close what doesn’t. Access from behind is nearly always the right first move. Saw-cutting a tiled wall should be the option you land on, not the one you start with, unless the plumbing access only exists on the wet side.
- Fix the underlying assembly, not the finish layer. If the waterproofing failed, rebuild the waterproofing. If the valve body failed, replace it. Re-grouting over a moving substrate is a cosmetic repair, and it will come back. We’ve seen the same floor re-grouted three times in three years because nobody addressed the deflection underneath it.
- Specify the finish for the climate. Materials and paint ratings that match South Florida humidity, not the spec sheet from a dry-state manual. Exhaust duct to the exterior, bathroom-rated paint, and corrosion-resistant fasteners in wet zones.
- Document the repair. Photos at every stage, materials list, and the warranty terms of whoever performed the work. Every repair is a foundation for the next decision, and the paper trail matters.
This is the sequence we follow on every bathroom we touch, whether we’re correcting someone else’s work or handling our own warranty call. From foundation to finish line, the same logic applies to the larger jobs too – a failed shower rough-in is a small version of the same discipline that runs through Groundwork Construction Co. of North Miami Beach home improvement projects, and the sequencing carries whether we’re in a bath or rebuilding a foundation.
Common Mistakes to Avoid
- Re-grouting over a moving substrate. Fresh grout will crack again in weeks if the tile assembly is flexing. Diagnose the deflection first, then repair the substrate, then re-grout. In North Miami Beach, our humidity swings make movement visible faster than in drier climates – the repair cycle is shorter, not longer.
- Repainting a shower ceiling without fixing exhaust. The paint fails again in one season. Fix the duct, add a timer switch, then paint with a bathroom-rated product. If you’re going to repaint twice, you might as well have fixed it once.
- Assuming “cement board” is waterproofing. It’s water-tolerant, not a barrier. If the shower was built with cement board and no membrane, understand that the wall is taking on moisture and plan the rebuild on your terms rather than waiting for the symptom to become a claim.
- Ignoring a slow leak because it “just shows as a stain.” A stain on a ceiling below the bathroom is a live leak. Catching it in month two means a valve cartridge and some patch work. Catching it in month twelve means framing, drywall, and a rebuild. The cost curve is steep.
- Cutting open the tile side for plumbing access when a closet is available. In a lot of North Miami Beach homes, the shower’s back wall is an interior closet or a hallway – opening from behind saves the tile and often the cost of the repair. Ask for this before demolition starts.
- Hiring on price alone for the repair. A $400 re-grout that fails twice is a $1,200 visit. Broadly, ask for a written diagnosis before a written bid. Any professional who can’t explain which layer owns the failure won’t fix it correctly the first time.
- Skipping venting to the exterior. Flex duct terminating in the attic is common enough that we’ve stopped being surprised by it. Duct terminates to the exterior with a damper, or the fan is decorative. No compromise on that.
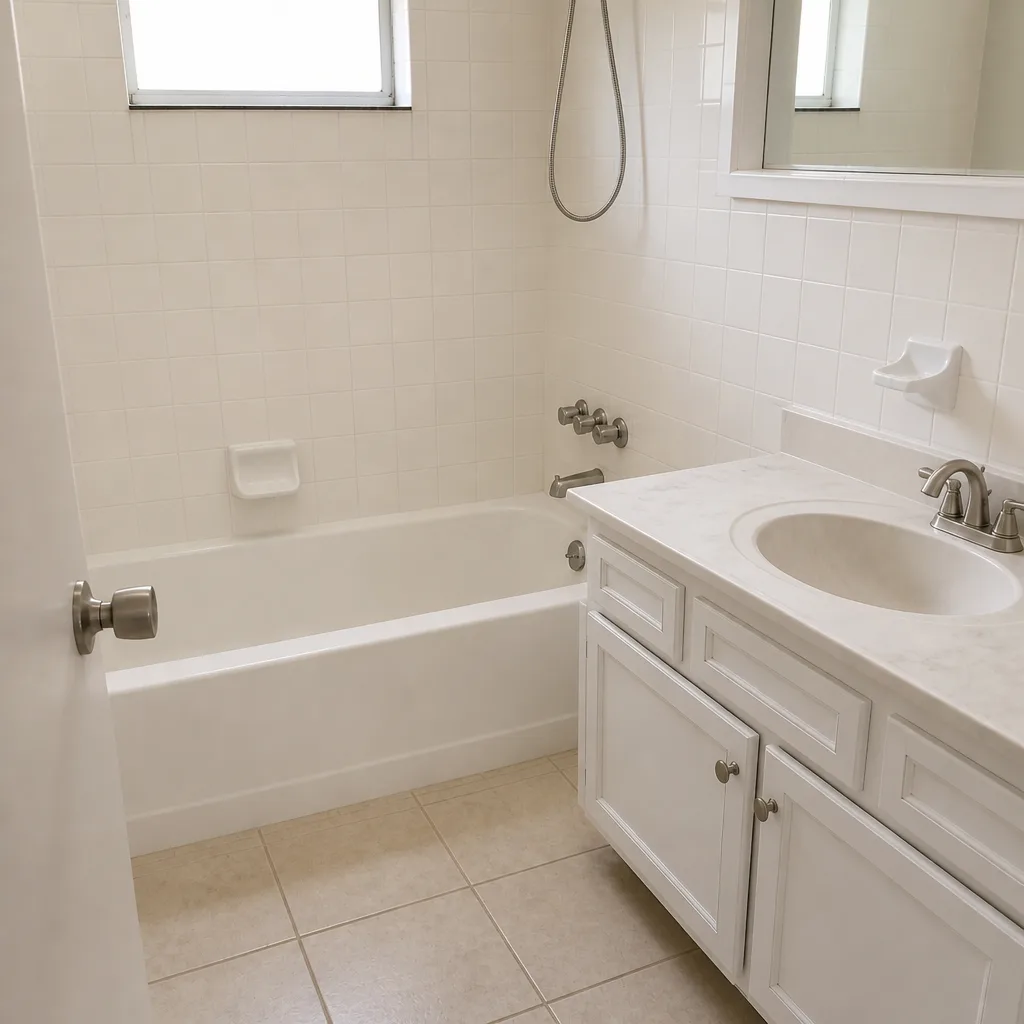
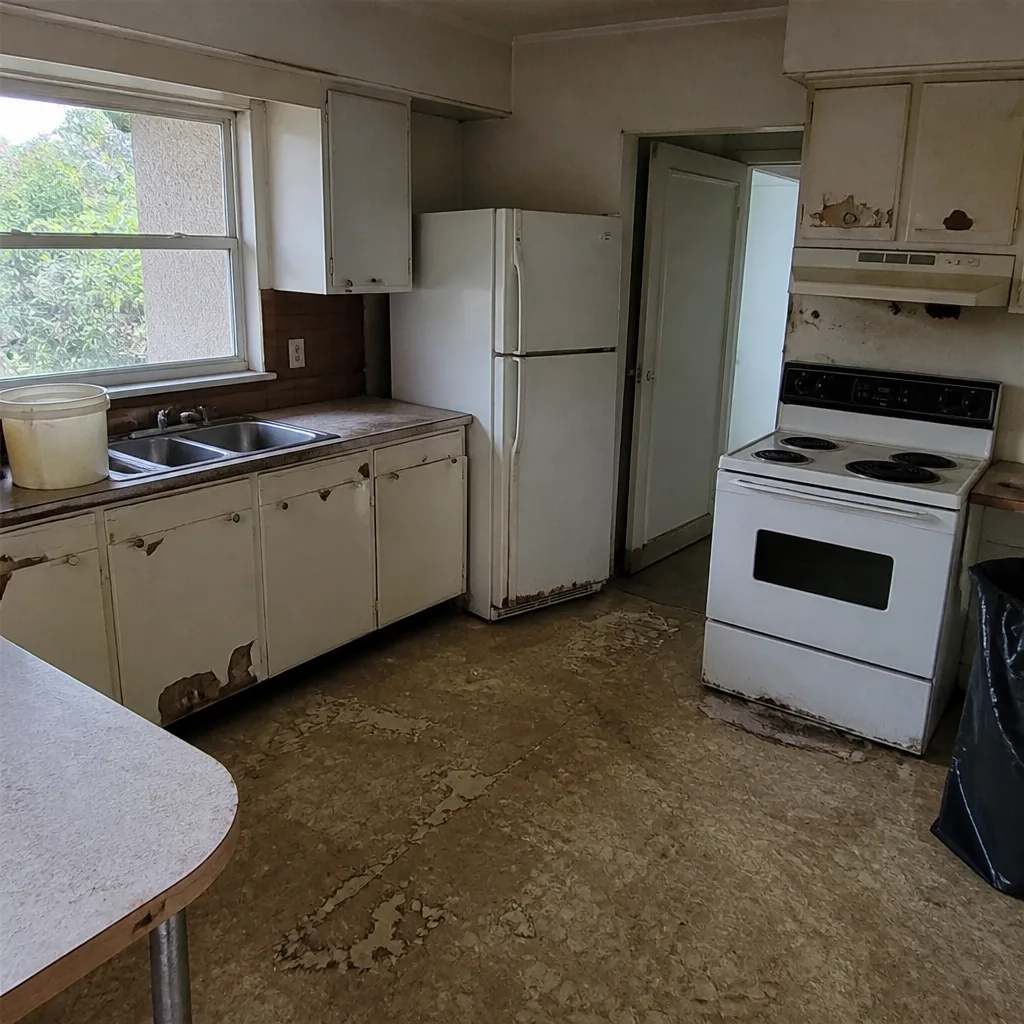
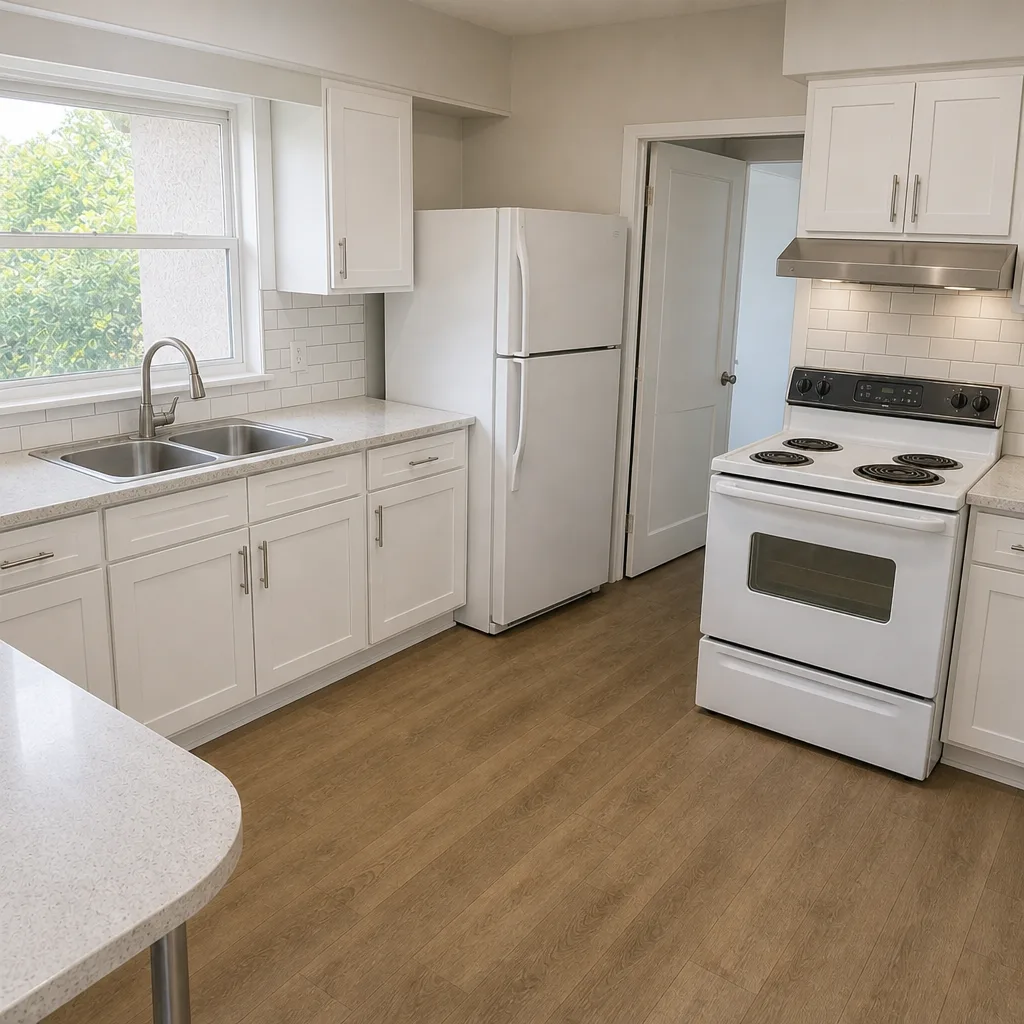
See the difference
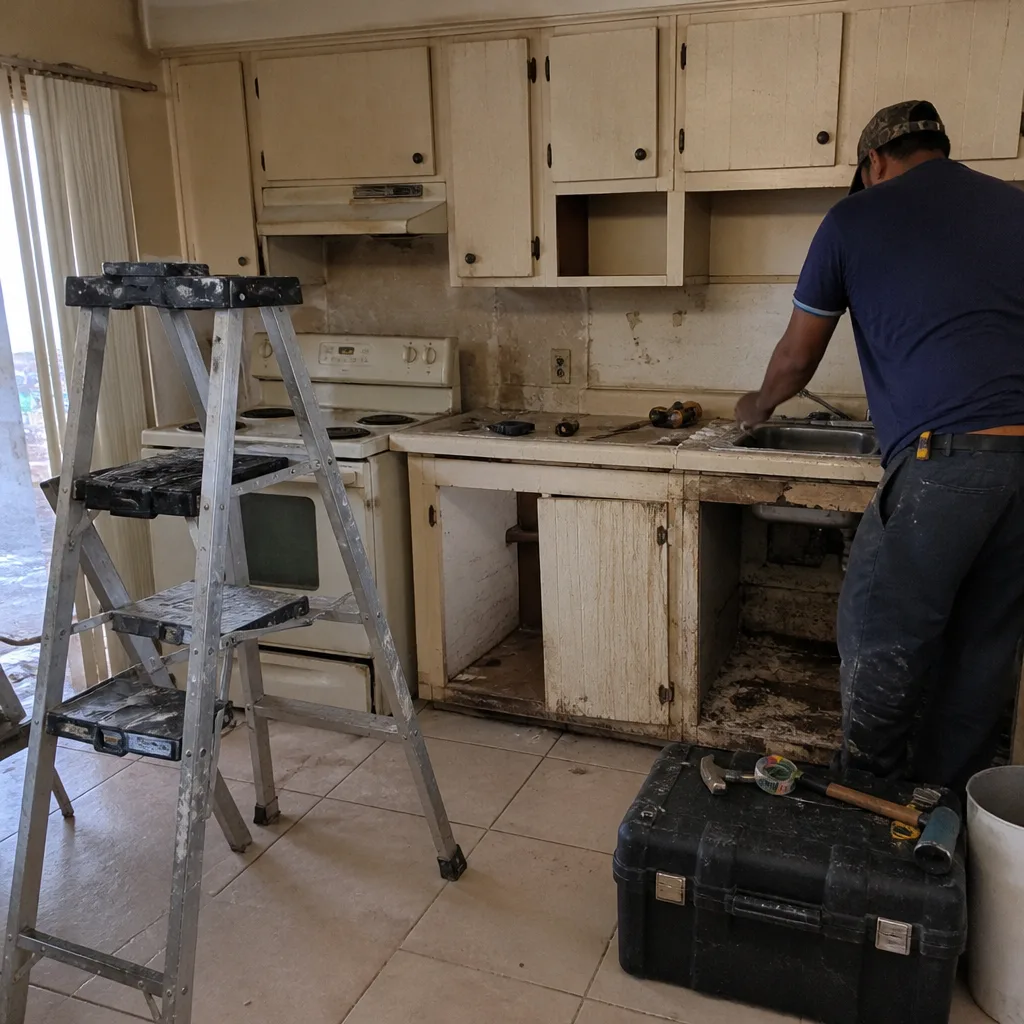 Before
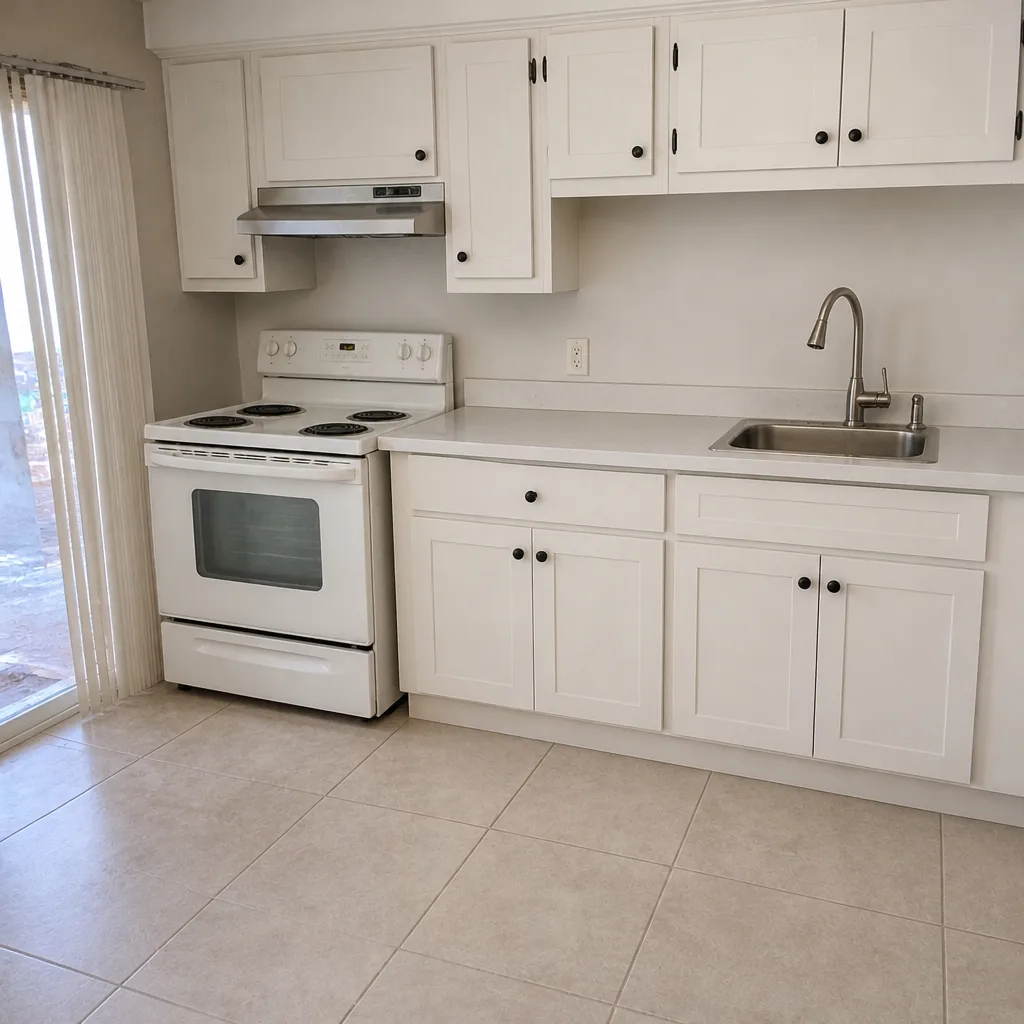 After
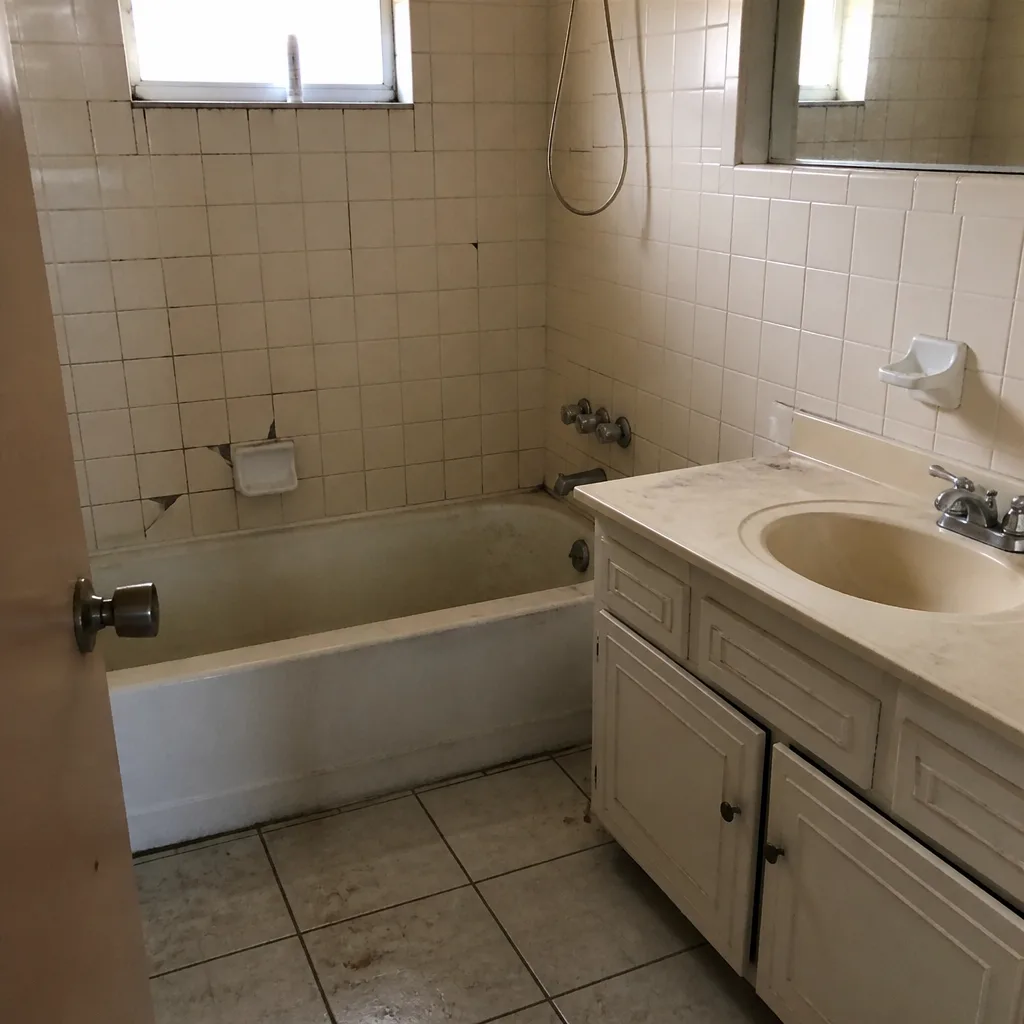 Before
 After
 Before
 After
When to Call a Professional
Call a professional the moment a water stain appears on a ceiling below a bathroom, when grout has cracked in a pattern rather than in one isolated spot, when mold returns within a month of cleaning, and any time a shower pan shows signs of failure (water pooling at the perimeter or a spongy feel underfoot). High-tension spring, gas line, and electrical panel work belongs to trained trades – if a bathroom troubleshoot reveals any of these components in a compromised state, stop and call a licensed professional. Tile work over a compromised substrate and any repair that requires opening a wall or cutting into a shower pan are jobs that reward experience; a wrong diagnosis at that stage turns a small repair into a full rebuild. For a North Miami Beach bathroom where the symptom is unclear, a written diagnostic from an experienced contractor saves money. Groundwork Construction Co. of North Miami Beach offers free estimates in North Miami Beach – call (844) 797-4868.
Frequently Asked Questions
A typical diagnosis visit plus a minor repair (re-grout with substrate assessment, caulk line replacement, fixture cartridge replacement) runs $250-$650 in the North Miami Beach market. A shower pan rebuild with new waterproofing and tile typically lands $3,500-$8,500 depending on size and finish. A hidden plumbing repair with tile replacement is usually $900-$2,400. The biggest variable is whether the diagnostic identified the correct layer before any demolition – which is exactly why a written diagnosis comes before a bid. Call (844) 797-4868 for an exact quote – estimates are free.
Waterproofing failure shows as mold on the exterior wall behind the shower, staining on the ceiling below, a spongy feel underfoot in the shower floor, or grout powdering at the shower perimeter. A moisture meter at the wall just above the shower curb will confirm. If the reading is above the surrounding drywall by 5% or more, the shower assembly is holding moisture and needs to be opened to diagnose. In North Miami Beach, the humidity accelerates the failures, so a reading that would be marginal in a dry climate is actionable here. Call (844) 797-4868 for a diagnostic visit – estimates are free.
Not on our jobs. Upfront pricing, no surprises – the number we give in the written estimate is the number you pay for the scope described, with any potential repair allowances called out in advance. Hidden conditions exist (you don’t know the state of the valve body until you see it), so we write those into the estimate as optional line items rather than as change orders later. If you’ve had a contractor change the price mid-job, review the original contract for the change-order language; the warranty documentation matters if you need to pursue it. Call (844) 797-4868 to schedule a free estimate.
Plumbing changes, structural modificiations, and re-piping require permits in North Miami Beach, and the inspection record from the original remodel should be in your file – ask your contractor for the permit numbers before work begins. Cosmetic repairs (re-grout, repaint, caulk) typically don’t require a permit. Any repair that touches the shower pan, valve body, or electrical in the bathroom should be permitted, and we pull the permits and pass the inspections so the file stays clean for resale. Call (844) 797-4868 for a permit-scope review – estimates are free.
Because the moisture source that feeds it hasn’t been fixed – the visible mold is the symptom, not the cause. In North Miami Beach, the most common source is a bathroom exhaust fan with flex duct terminating in the attic instead of to the exterior; in that configuration the fan circulates moist air but never removes it. The next most common is a shower with no drying path (undersized fan, no timer switch). Cleaning without addressing those will always produce a repeat. Call (844) 797-4868 for a diagnostic visit; we can usually identify the source in a single appointment.
Minor repairs – re-grouting, caulk line replacement, fixture cartridge swap – are often done in a single visit. A shower pan rebuild typically runs five to eight working days from demo to finish tile set, plus a cure period before the shower is usable. A hidden plumbing repair behind the tile takes two to four days. We provide a written schedule with the estimate and hold to it. Call (844) 797-4868 to schedule a free estimate.
The Bottom Line
Nearly every real bathroom failure we’ve seen in North Miami Beach was locked in at the waterproofing and substrate phase – not the finish. Cracked grout, loose tile, returning mold, and peeling paint are all symptoms that point to a specific layer underneath; reading them correctly is the whole game. If you’re facing a symptom you’re not sure about, a written diagnostic from an experienced contractor pays for itself, and knowing whether you’re in a warranty claim, an insurance claim, or a standard repair determines the right path forward. Our technicians have up to 12 years of experience diagnosing exactly these problems, and every job is covered by the 730-Day Done Right Promise – if it’s not done right, we make it right. Not sure what you’re looking at? Call (844) 797-4868 to schedule your free estimate and design consult with Groundwork Construction Co. of North Miami Beach. Live person, 24/7. No voicemail, no delays. And when your next project extends beyond the bathroom, the same discipline runs through Driveway & Pavers in North Miami Beach, Fence Installation in North Miami Beach, and Home Additions & ADU in North Miami Beach – from foundation to finish line.
Written by the team at Groundwork Construction Co. of North Miami Beach.