Last updated November 17, 2026






Free written scope consultation - allowances, timeline, and change-order rules on paper before a single trade is scheduled
Bathroom Remodeling Maintenance Schedule: What to Do and When
Grout doesn’t fail because it was installed wrong. It fails because nobody resealed it at the six-month mark. That’s the part of a bathroom remodel almost no homeowner plans for, and it’s the reason a surprising number of warranty claims get denied every year. The work itself was fine. The maintenance wasn’t done. What follows is the actual schedule we hand to homeowners in North Miami Beach after we set the last tile: what to check at 30 days, 6 months, 1 year, and 3 years, and why the cadence matters more than the individual tasks. Follow it and your remodel holds up for a decade. Skip it and you’ll be calling someone back in three.
Quick Answer
A bathroom remodel needs a 30-day post-completion check (caulk cure, grout settling, fixture seating), then a simple rhythm: reseal grout and stone every 6 – 12 months, inspect caulk and re-caulk annually, re-caulk tub and shower joints every 2 – 3 years, and check exhaust fan performance and vent clearance every season. In South Florida’s humidity, the sealant and caulk intervals matter more than they would in a dry climate, and skipping them is the fastest way to void the workmanship protection on a good remodel.
Styles & brands we work with
- Kitchen remodeling
- Bathroom remodeling
- Home additions & ADU
- Roofing
- Windows & doors
- Driveway & pavers
- Fence
Table of Contents
- The First 30 Days: The Checklist Almost Everyone Skips
- Month 6: The Sealant and Caulk Reset
- Year 1: The Full Walkthrough and What to Look For
- Year 3 and Beyond: What Aging Actually Looks Like
- Why South Florida Humidity Changes the Schedule
- How to Document Maintenance So It Supports a Warranty Claim
- Maintenance vs. Repair: When It’s Time to Call a Pro
- Common Mistakes to Avoid
- When to Call a Professional
- Frequently Asked Questions
The First 30 Days: The Checklist Almost Everyone Skips
The month after a remodel is when the material systems settle, and it’s the month most homeowners spend admiring the new vanity instead of checking what’s underneath it. Caulk needs to cure fully. Grout shrinks back slightly as it dries. Fixtures seat into fresh sealant and occasionally work loose. None of this is failure. It’s normal settling, and catching it at day 30 is what separates a ten-year bathroom from a three-year one.
Here’s what to actually inspect during the first month, ideally around day 10 and again at day 30:
- Press every caulk line. Run a finger along the tub-to-wall, shower-to-floor, and vanity-to-wall seams. If it feels soft, tacky, or peels at the edge, note the location. New caulk shouldn’t be fully cured at day 10, but it should be firm by day 30.
- Check grout for hairline cracks and voids. Shine a light across the floor and shower walls at a low angle. Shrinkage cracks in the first month are common and easy to fill with matching grout. Cracks that widen are worth a call.
- Test fixture seating. Gently push on the toilet base and the faucet handles. A toilet that rocks slightly means the wax ring may need attention. A faucet that moves means the supply connection isn’t seated.
- Run the fan for 20 minutes and confirm airflow. Hold a tissue to the grille. If it doesn’t pull flat against the grille, the fan isn’t moving air like it should.
- Check the shower pan for standing water. Let the shower run 10 minutes and watch the drain. Any pooling that sits more than a few minutes points to a slope or drain issue that’s far easier to fix now.
In North Miami Beach, we schedule the 30-day check within the first six weeks because the humidity accelerates everything. What takes three weeks to settle in a dry climate can move faster here. If your contractor doesn’t offer a post-completion walkthrough, ask for one. It’s the cheapest hour of the whole project.
Month 6: The Sealant and Caulk Reset
This is the appointment nobody keeps, and it’s the one that determines whether the tile and grout in your remodel survive to year ten. Six months in, the factory sealant on cementitious grout has worn down enough that water starts working into the joints, especially in shower walls and around the floor. Once moisture gets behind the tile, the damage is slow, invisible, and expensive.
The six-month reset looks like this:
- Reseal grout in the shower and floor. Penetrating sealers on cementitious grout need reapplying every 6 – 12 months. In North Miami Beach, plan on the 6-month side because steam and humidity speed the wear.
- Inspect all caulk joints for gaps, discoloration, or peeling. Any joint that has pulled away from tile or tub needs to be stripped and re-caulked. Don’t smear new caulk over old. The bond won’t hold.
- Look at the ceiling above the shower. A faint outline of moisture or peeling paint means the fan isn’t keeping up. That’s the single most common issue we see in remodels from other contractors.
- Check stone surfaces for etching or dull spots. Marble and travertine vanities need resealing every 6 – 12 months. If your vanity uses Cambria quartz or a similar engineered surface, this is less of a concern because those surfaces don’t require sealing.
- Clean the exhaust fan grille and check the vent externally. A clogged grille or a vent that’s come loose at the roof cap means humid air is staying in the bathroom.
Put this on your calendar the day the remodel wraps. Six months comes faster than you think, and it’s the single maintenance task with the highest return on a bathroom remodel backed by a warranty.
Year 1: The Full Walkthrough and What to Look For
At the one-year mark, you’re no longer checking settling. You’re checking performance. A year of daily use tells you which parts of the bathroom are working hard and which are wearing faster than they should. Do a proper walkthrough in one sitting, and take photos of everything.
- Re-caulk all wet-area joints. Even good caulk starts to shrink, discolor, or lose adhesion by year one. Stripping and re-caulking tub and shower joints annually keeps water out of the wall cavity.
- Reapply penetrating sealer to all tile and grout. If it’s been 6 months since the last application, it’s time.
- Check the toilet for rocking, weak flush, or a loose seat. Tighten the closet bolts, confirm the wax ring isn’t seeping, and replace the flapper if the tank is running.
- Test the GFCI outlets. Press the test button on each one in the bathroom. If it doesn’t click off cleanly, the outlet needs replacing. This matters for safety in a wet room and it’s a quick fix.
- Inspect the exhaust fan’s airflow again. Clean the grille, check the duct connection at the fan housing, and confirm the exterior vent flap opens and closes freely.
- Look for water staining anywhere it shouldn’t be. Baseboards behind the toilet, ceiling corners, the bottom edge of the shower surround, and inside the vanity cabinet. Any staining is a signal to call someone.
For homeowners in North Miami Beach, year one is also the right time to check the exterior wall on the other side of the shower. Our climate pushes moisture against exterior walls with almost daily rain in the summer, and a small exterior sealant gap can look like a shower leak from inside. Catching it now saves a major repair later.
Year 3 and Beyond: What Aging Actually Looks Like
By year three, a well-maintained bathroom is still performing like new in most visible ways. What’s aging is behind the surfaces. Grout lines have taken three years of cleaning cycles, sealant has been reapplied a handful of times, and faucet cartridges start to wear. The three-year walkthrough is about replacing parts before they fail, not after.
- Replace faucet cartridges and aerators. A dripping faucet is usually a worn cartridge, not a plumbing failure. Replacing it takes minutes; letting it go can pit the fixture.
- Re-caulk all joints again, and consider replacing any caulk that’s persistently discoloring. Persistent mold staining means the caulk isn’t bonding. Strip it, clean the joint fully, let it dry completely, then re-caulk.
- Replace the toilet flapper and fill valve. Rubber parts fail in three to five years. Replacing them proactively costs less than a water bill spike.
- Inspect the grout for cracks and voids more carefully, especially in the shower floor. Grout lines that are cracking in the shower pan suggest movement underneath, which is worth a pro’s look.
- Check the exhaust fan against the manufacturer’s expected life. Most residential bath fans run 8 – 10 years before airflow drops off. If your fan is quieter than it used to be, it’s probably not pulling air like it used to either.
- Consider resealing stone and natural tile surfaces more frequently now. Older stone takes sealer less easily than new stone, so plan on the 6-month cadence rather than 12-month.
The pattern to notice here: the tasks don’t change much from year to year, but the cadence tightens. Bathroom remodels that fail early almost always fail because the owner drifted off the schedule, not because of a manufacturing defect or a bad install.
Why South Florida Humidity Changes the Schedule
A maintenance schedule written for Phoenix will not protect a bathroom in North Miami Beach. Our climate pushes humidity into the same range as a mild sauna on most summer days, and that has real consequences for the materials inside a bathroom remodel. Here’s what shifts if you’re living in our market:
- Grout sealer wears faster. Plan on resealing every 6 months rather than every 12. High humidity accelerates the breakdown of penetrating sealers on tile and grout.
- Caulk failure comes sooner. The same silicone caulk that lasts 3 years in a dry climate starts showing gaps in 18 – 24 months here, especially in showers that don’t get fully dried between uses.
- Exhaust fan performance matters more than you think. In our climate, an underperforming fan doesn’t just fog the mirror. It leaves moisture in the room that migrates into drywall and insulation. Run the fan during every shower and 20 minutes after.
- Exterior wall moisture can look like an interior leak. The wall between your bathroom and the exterior is under real pressure during our rainy season. Check exterior sealant and paint on that wall once a year. If water’s getting in from outside, no amount of interior caulk is going to help.
- Stone and marble surfaces need more attention. Natural stone in a humid bathroom grows mineral deposits faster and can dull more quickly. Cambria quartz is more forgiving if you’re choosing surfaces for a humid climate.
When we build a bathroom remodel in North Miami Beach, we plan the surface materials around this. That’s part of the reason we recommend engineered quartz over porous natural stone for vanities, and why every exhaust fan we install is sized to the room. Maintenance helps, but the right materials do a lot of the work before you touch a caulk gun.
How to Document Maintenance So It Supports a Warranty Claim
Most remodel warranties, including the 730-Day Done Right Promise we back every project with, cover workmanship, not owner neglect. If something fails and the failure traces back to skipped maintenance, the claim doesn’t get honored. That’s not a warranty loophole. It’s the standard for any serious construction guarantee. The good news: documenting your maintenance takes about five minutes a year and it changes the entire conversation if a claim ever comes up.
Here’s the system we recommend to every homeowner we work with:
- Create a simple digital folder. Name it “Bathroom Maintenance” and put it wherever you store home records.
- Save every purchase receipt for caulk, sealer, and replacement parts. A photo of the receipt in the folder is enough. The brand, date, and product matter more than the receipt itself.
- Take before-and-after photos of every maintenance task you do. Two shots per task: one of the joint or product being worked on, one of the completed condition. Date-stamped photos are the single most valuable record you can have.
- Log the dates of your 6-month and 12-month retreatments. A simple note on your phone or a note in the folder works. “Resealed shower grout, March 2026, TileLab sealer” is enough detail.
- Keep the original remodel contract, material specs, and warranty paperwork in the same folder. When a claim is filed, the manufacturer or contractor will want the material information as much as the maintenance record.
- Photograph any problem the moment you notice it. If a crack or stain develops, take the photo before you clean it up or try to fix it. Before-photos matter if you need to establish a timeline.
If you’re already a Groundwork Construction Co. of North Miami Beach client, that folder is what we’ll ask for if you ever call us with a concern inside the warranty window. It’s how we can tell the difference between a workmanship issue (we make it right, no questions asked) and a maintenance issue (we help you fix it and explain the schedule going forward). Either way, the goal is the same: your bathroom keeps working the way it should.
Maintenance vs. Repair: When It’s Time to Call a Pro
The line between maintenance and repair is clearer than most homeowners think. Maintenance is what you do on a schedule, whether or not anything looks wrong. Repair is what you call someone for when a specific condition shows up that a homeowner shouldn’t be tackling alone.
The signs routine maintenance has crossed into repair territory:
- Grout cracks that widen across multiple tiles. One hairline crack is settling. Cracks spreading across the shower floor or wall are telling you something under the tile is moving.
- Caulk that pulls away within 30 days of being resealed. If new caulk won’t stay bonded, the substrate behind it is likely wet. That’s a wall cavity issue, not a caulk issue.
- Standing water in the shower pan or a slow drain that gets worse. Both point to a slope or drain problem that can’t be fixed from the surface.
- Soft, spongy, or discolored drywall on the other side of a shower wall. This is water in the wall cavity. Stop using the shower and call.
- A toilet that rocks when you sit on it, or water staining at the base. Wax ring failure lets sewage gas and water into the subfloor.
- Peeling paint or efflorescence (white, powdery deposits) on the bathroom ceiling or walls. These are signs of ongoing moisture that needs a source found.
- Mold that returns to the same spot after every cleaning. Continuing mold growth means a moisture source, not a cleaning problem.
One thing about this list: any of these can turn into a much more expensive repair if you wait. Water in a wall cavity moves. A grout crack becomes a tile replacement. A soft subfloor becomes a full floor rebuild. We’ve walked into bathrooms in North Miami Beach where a $40 caulk job was deferred for two years and became an $8,000 wall rebuild. The maintenance schedule exists to keep you off that list, and the repair call exists for when it happens anyway.
Common Mistakes to Avoid
- Skipping the 30-day walkthrough entirely. Most homeowners go straight from “the remodel is done” to daily use without ever checking the settling window. Those first 30 days are the cheapest time in the whole life of the bathroom to catch and fix issues.
- Caulking over old caulk. New caulk doesn’t bond to cured silicone, and the new layer fails fast. Strip the old caulk fully, clean the joint, let it dry, then apply. Every time.
- Sealing grout on the same day you clean it with an acidic product. Grout cleaners with acid etch the grout and prevent the sealer from bonding. Wait at least 48 hours after cleaning before applying sealer, and use a pH-neutral cleaner for the pre-seal clean.
- Running the exhaust fan for 5 minutes after a shower. That’s not enough in South Florida. Run it during and for a full 20 minutes after. Short run times leave moisture in the room, which is what peels paint and grows mold on the ceiling over time.
- Treating exterior wall sealant as “not a bathroom issue.” In North Miami Beach, exterior wall moisture is one of the top causes of interior bathroom damage. Walk the outside wall of your bathroom once a year and look for cracked caulk, chipped paint, or gaps at the window frames.
- Filing a warranty claim with no maintenance record. If you can’t show a documented schedule of resealing and re-caulking, a warranty review will treat the failure as owner neglect. Even a photo-and-note folder solves this.
- Waiting on a slow leak because “it’s not that bad.” Any moisture you can see is moisture you can’t see somewhere else, moving in a wall cavity or under a floor. Slow leaks do more damage than fast ones because they go untreated longer.
When to Call a Professional
Call a pro the moment you see water where it shouldn’t be, grout cracks that widen, caulk that won’t stay sealed, a toilet that rocks, mold that keeps returning to the same spot, or any sign of moisture on the ceiling or the wall opposite the shower. These aren’t maintenance items. They’re repair signals, and every week you wait makes the repair more expensive.
If you’re unsure whether what you’re looking at is normal settling or a real problem, that’s also a good reason to call. A free estimate is the cheapest diagnostic visit you can make, and it beats guessing. Groundwork Construction Co. of North Miami Beach offers free estimates in North Miami Beach, and our projects are backed by the 730-Day Done Right Promise. Call (844) 797-4868, and a live person will answer, any hour, any day. We’ll look at what’s going on, tell you straight whether it’s maintenance or repair, and give you an upfront number before any work starts.
Whether you need a repair on an existing bathroom or you’re planning a full remodel, we also handle the bigger projects that make maintenance easier: bathrooms sized and ventilated to our climate, materials chosen for the humidity, and construction detailed to hold up. That’s the same standard we bring to every service we offer across our markets, from Groundwork Construction Co. of North Miami Beach home to Home Additions & ADU in North Miami Beach. We connect homeowners with background-checked, uniformed technicians on every job, and every project is priced upfront. The number you see is the number you pay.
Frequently Asked Questions
Every 6 to 12 months, and in North Miami Beach plan for the 6-month end of that range. Our humidity speeds up sealer wear on cementitious grout, especially in showers. Reseal at 6 months after the remodel, then stay close to that cadence. If water beads on the tile instead of soaking in, the sealer is still working. If it soaks, it’s time. Call (844) 797-4868 for help sizing this to your specific surfaces.
Check caulk cure, grout settling, fixture seating, exhaust fan airflow, and shower pan drainage at day 10 and again at day 30. Those are the five systems where settling shows up first. Any crack, gap, or soft caulk line you catch in that window is a straightforward fix. Anything you miss becomes a bigger issue once daily use starts. If your contractor didn’t offer a 30-day walkthrough, ask for one.
Yes. Workmanship warranties, including the 730-Day Done Right Promise we back every project with, cover installation quality, not owner neglect. If a failure traces back to skipped resealing or missing caulk, the claim won’t be honored as workmanship. Keep a simple folder with dated photos, product receipts, and dates of each maintenance task. It’s the difference between a claim that gets approved and one that gets denied.
Humidity keeps the joint from fully drying between showers, which breaks down the caulk’s bond faster than it would in a dry climate. Our caulk intervals run closer to 18 – 24 months for showers that see daily use, versus 3 years in a drier market. Running the exhaust fan for a full 20 minutes after every shower is the single easiest way to stretch that interval. If caulk is pulling away within 30 days of being resealed, that’s a moisture-in-the-wall issue, not a caulk issue. Call (844) 797-4868 for a look.
If the water is on a surface you can see, and it dries fully between uses, that’s maintenance. If water is staining drywall, baseboards, cabinet bottoms, or the ceiling, or if it reappears after cleanup without a clear surface source, it’s a repair. Any water you can see is water you can’t see somewhere else. Don’t wait on it. Call (844) 797-4868 for a free estimate and we’ll tell you exactly what you’re looking at.
Yes. Bathroom remodeling is one of our core services, and we design the ventilation and surface materials around North Miami Beach’s humidity. Every remodel is backed by the 730-Day Done Right Promise, priced upfront, and installed by background-checked, uniformed technicians. We also handle full-scope home renovation projects, including Driveway & Pavers in North Miami Beach and Fence Installation in North Miami Beach, so a bathroom project can sit inside a broader home improvement plan. We’re proud to serve our local communities and quote every job upfront. Call (844) 797-4868 for a free estimate.
The Bottom Line
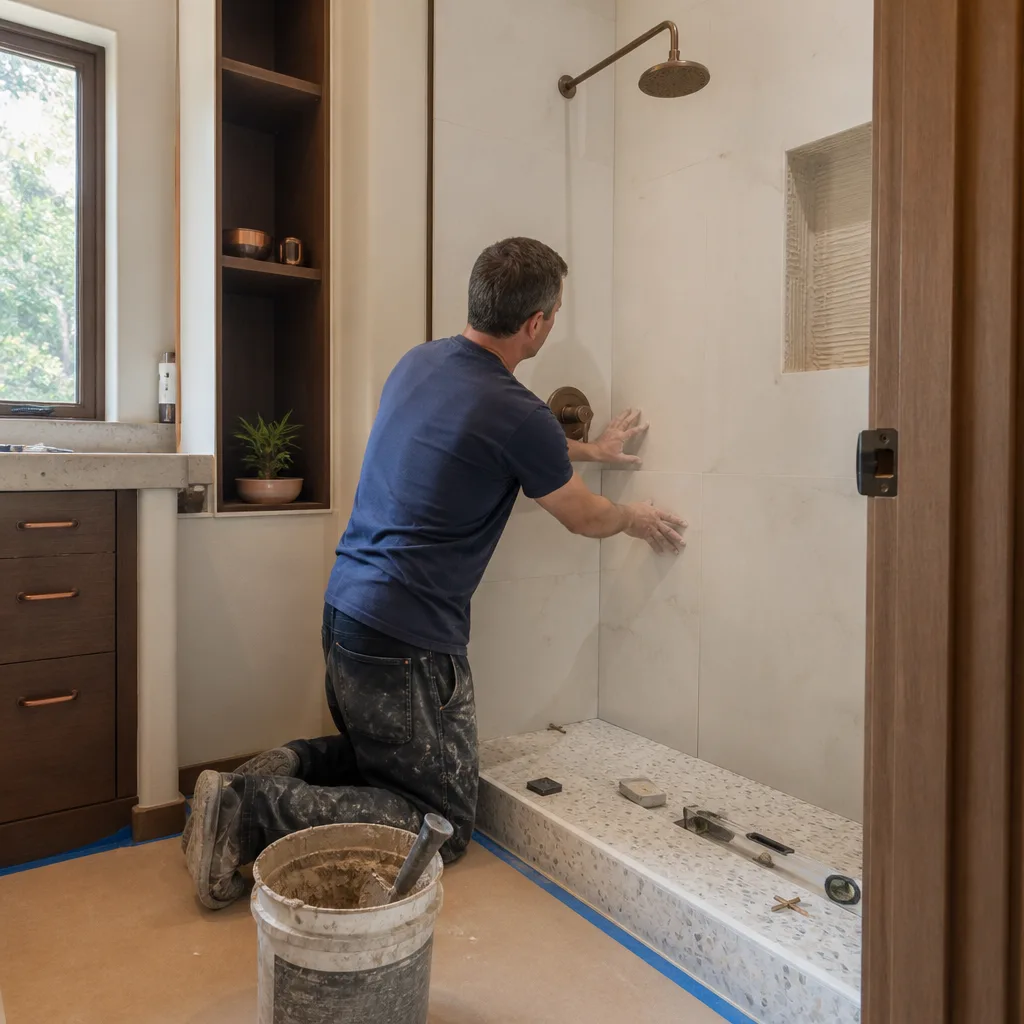
Your bathroom remodel’s lifespan is set by what happens after the crew leaves, not by what they did while they were there. Hit the 30-day check, reseal grout every 6 months in South Florida, re-caulk wet joints annually, and document every task with a photo and a date. When something crosses from maintenance into repair, call early. Those habits are what keep a good remodel good for a decade or more. And if you’re planning one in North Miami Beach and want it built to hold up, Groundwork Construction Co. of North Miami Beach is one call away at (844) 797-4868. Free estimates, upfront pricing, and the 730-Day Done Right Promise on every project. Live person, 24/7, no voicemail.
Written by the team at Groundwork Construction Co. of North Miami Beach.
See the difference
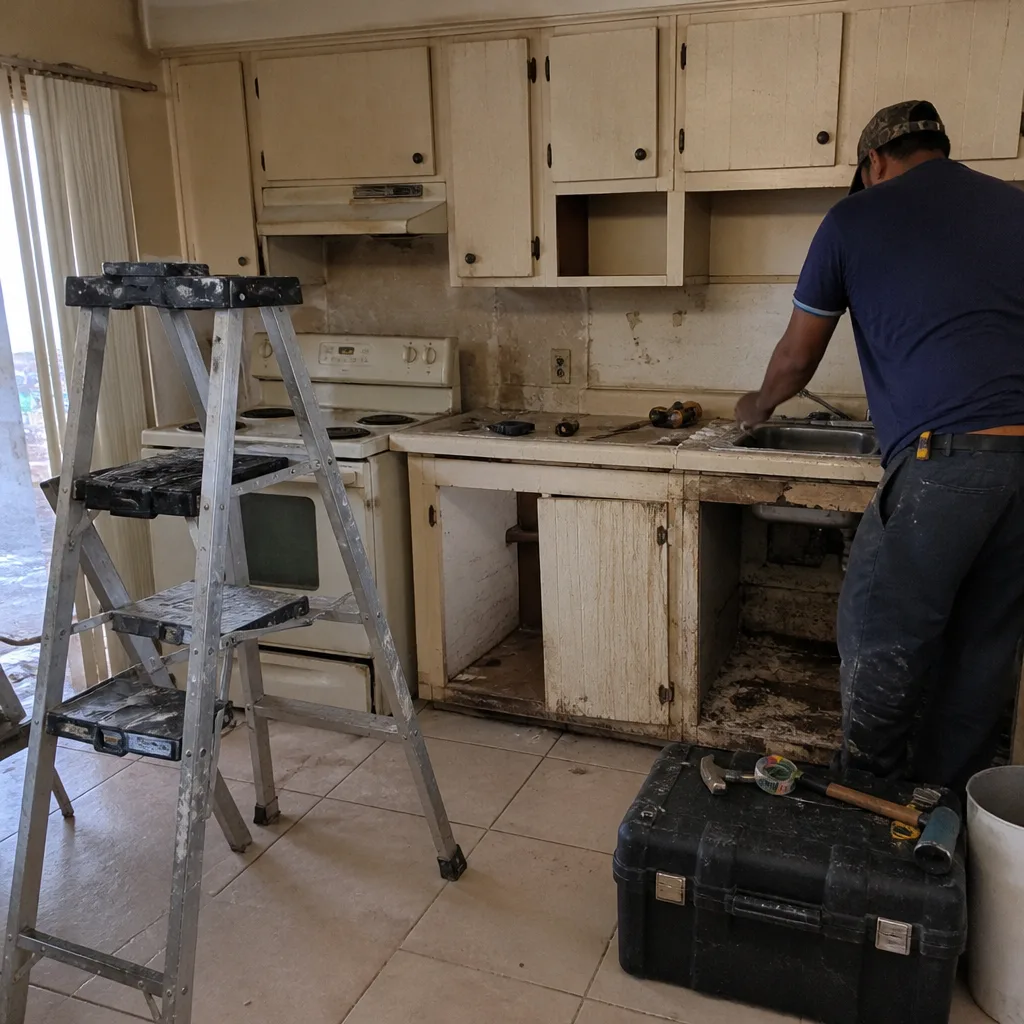 Before
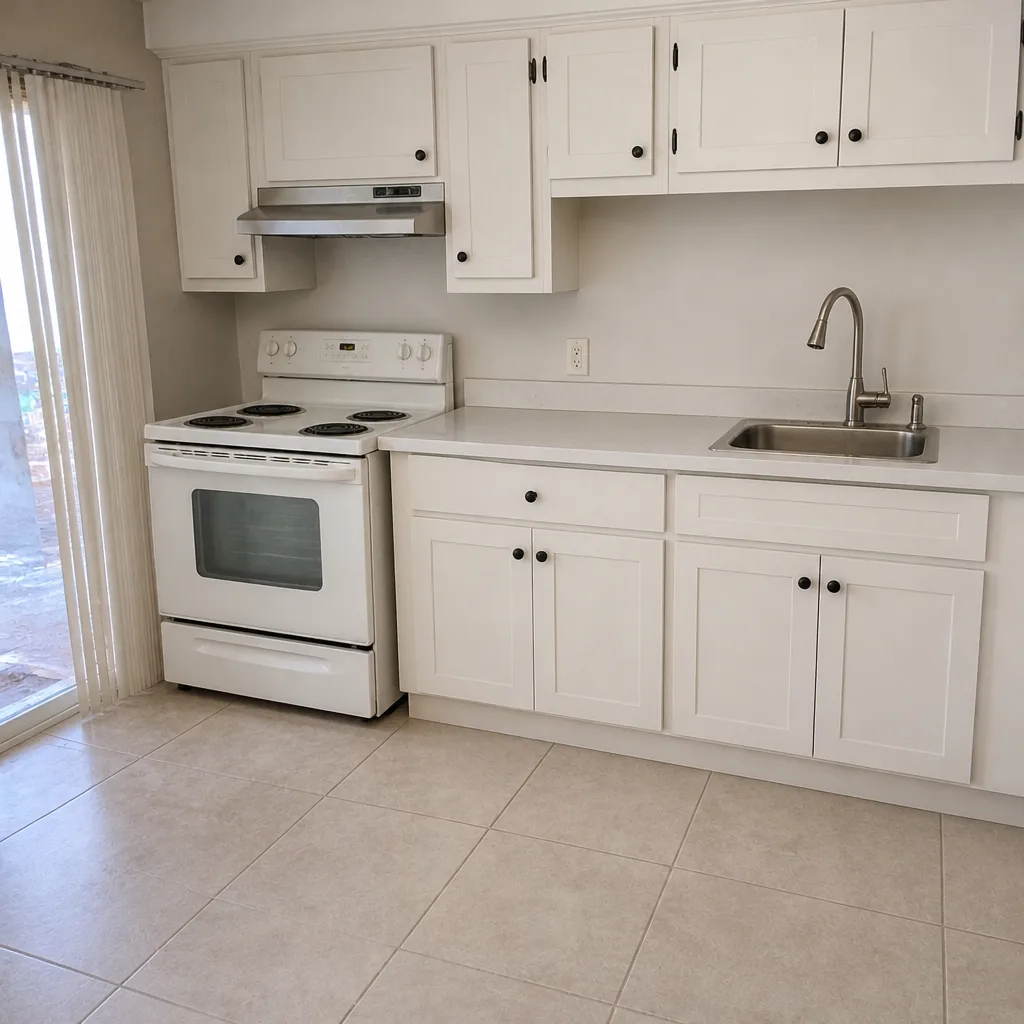 After
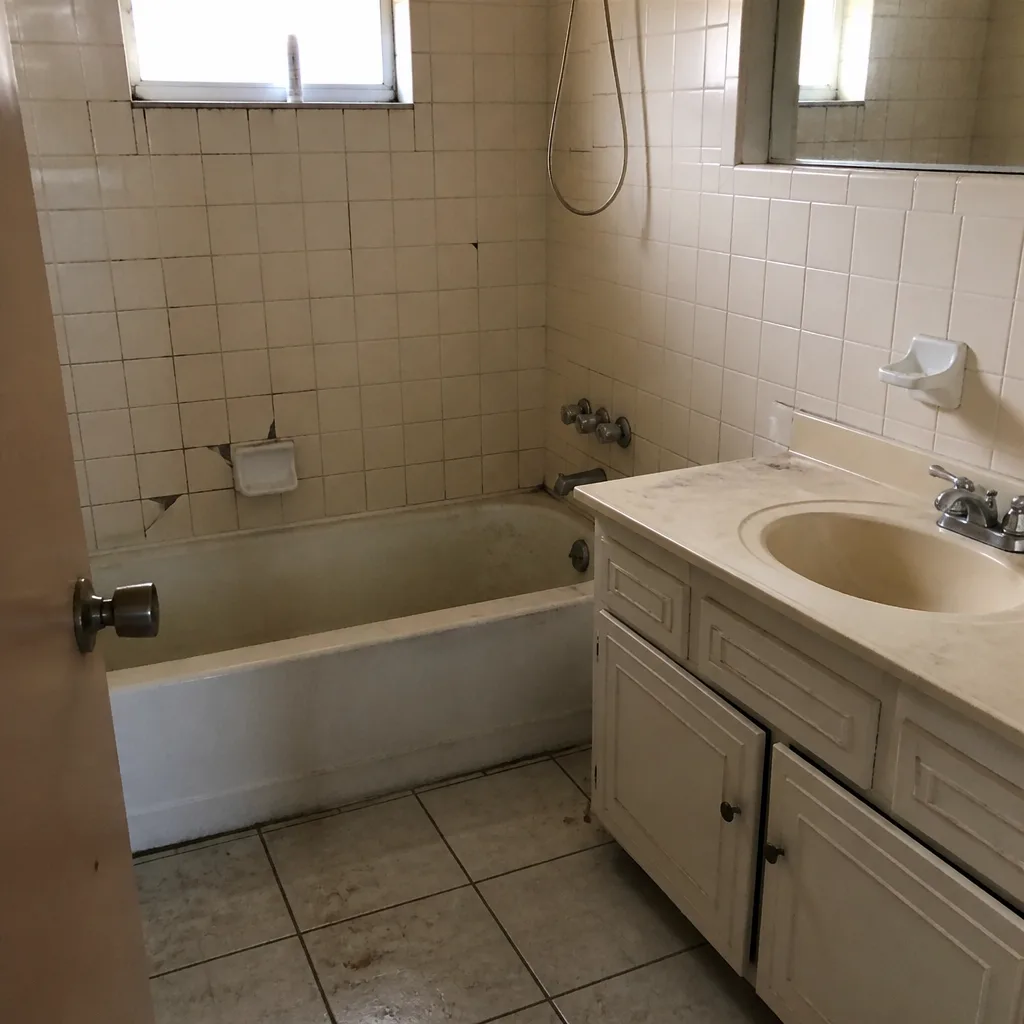 Before
 After
 Before
 After