Last updated November 17, 2026



Free written scope consultation - allowances, timeline, and change-order rules on paper before a single trade is scheduled
Driveway & Pavers Maintenance Schedule: What to Do and When
Sealing pavers at the wrong time of year in South Florida does more harm than good. If you seal during the summer rainy season or on a muggy day when the humidity is sitting at 85 percent, you trap moisture underneath the surface. That trapped water does exactly what a sealer is supposed to prevent: it stains, it clouds, it can pop the surface right off. Most of the paver damage we see in North Miami Beach isn’t from wear and tear. It’s from maintenance done in the wrong window. Below is the actual calendar, timed to our wet and dry seasons, plus the re-sanding interval, sealer choices by material, and the post-storm checklist.
Quick Answer
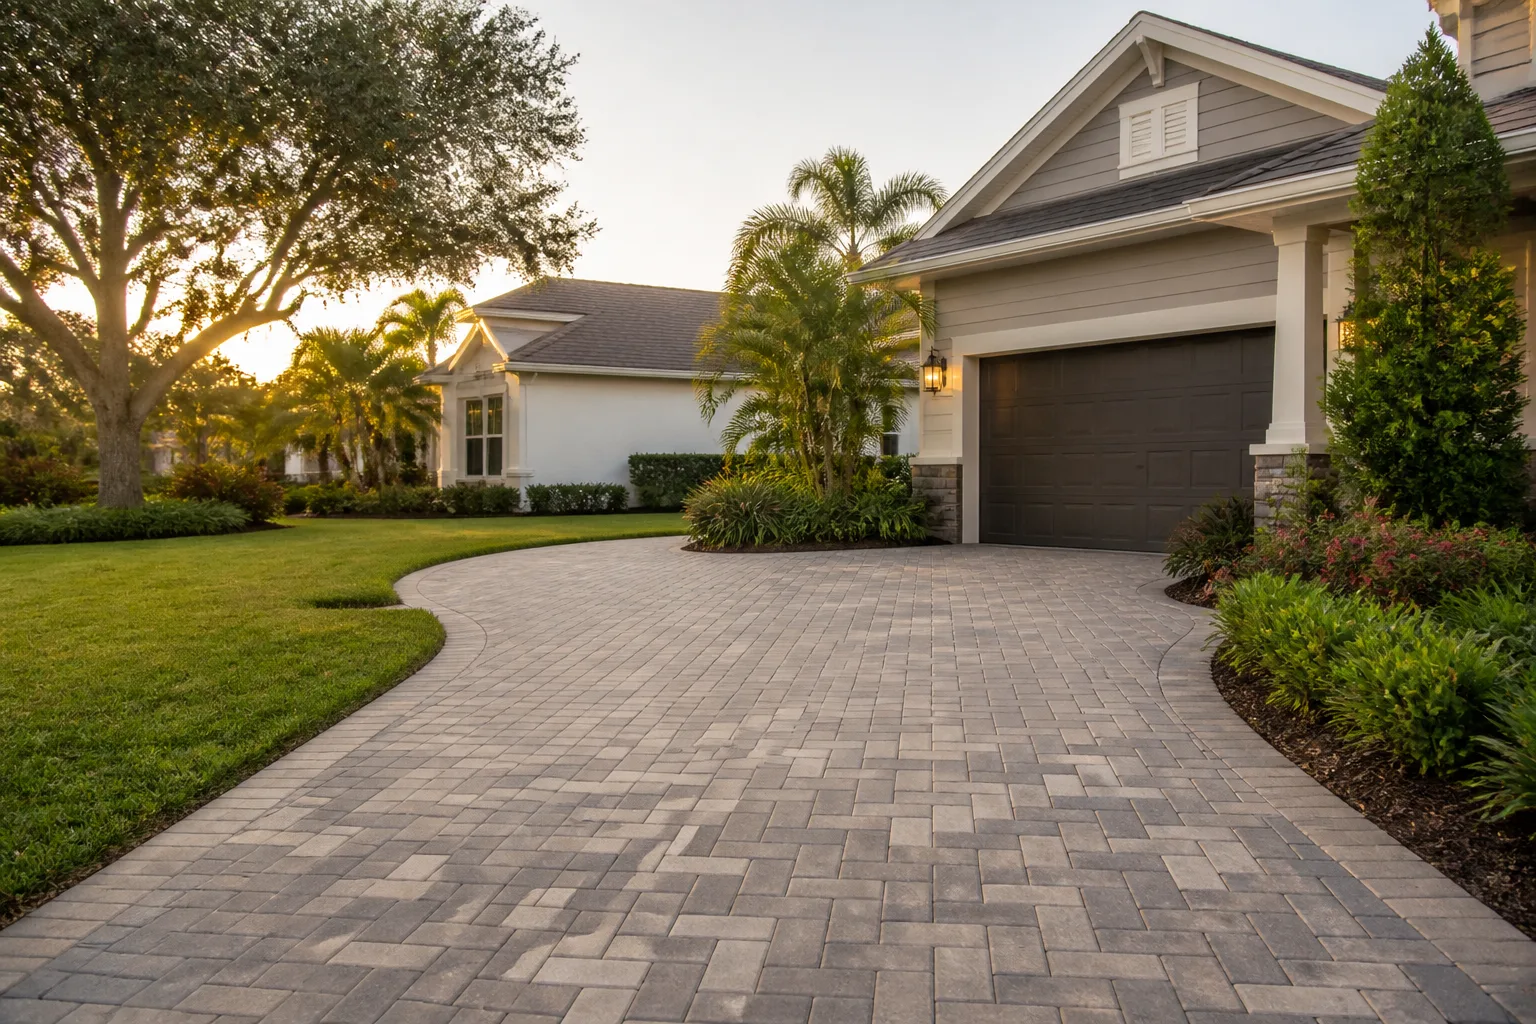
In North Miami Beach, your paver driveway needs deep cleaning and re-sanding once a year and a fresh coat of penetrating sealer every two to three years, with the sealing work scheduled during the dry months from November through April. Light upkeep – sweeping, spot weed pulling, and rinsing after storms – runs monthly year-round. The single biggest mistake is sealing between May and October, when daily rain and high humidity keep moisture locked in the pavers.
Styles & brands we work with
- Kitchen remodeling
- Bathroom remodeling
- Home additions & ADU
- Roofing
- Windows & doors
- Driveway & pavers
- Fence
Table of Contents
- Why North Miami Beach’s Wet and Dry Seasons Change Everything
- The Month-by-Month Maintenance Calendar
- Re-Sanding Polymeric Joints: The Right Interval in a High-Rain Climate
- Which Sealer for Which Paver Material in Miami-Dade
- Cleaning and Stain Removal Through the Year
- Post-Hurricane Inspection: The Days After a Storm
- How to Log Maintenance to Protect Your Warranty and Resale
- When It’s a Sub-Base Problem, Not a Surface Problem
Why North Miami Beach’s Wet and Dry Seasons Change Everything
Most paver maintenance guides were written for places with four seasons. They tell you to “seal in spring” or “prep before winter.” Neither applies here. North Miami Beach runs on two seasons: a wet season from roughly May through October, when afternoon thunderstorms dump two or more inches in an hour, and a dry season from November through April, when the air dries out and you get long stretches of stable weather.
That split matters because every task on a paver driveway has a moisture window. Sealer needs the pavers bone dry and the humidity low enough to cure. Polymeric sand needs a dry stretch to set before rain hits it. Deep cleaning is far more effective when you aren’t fighting a fresh storm every few hours. If you skip a task in its window, you push it into the rainy season, where the same work takes longer, costs more, and fails sooner.
There’s a second local factor: our water table sits high, and in low-lying pockets around Eastern Shores and the streets near the Intracoastal, water has nowhere to go after a heavy rain. A driveway that drains fine in February can hold a film of standing water in September. That standing water is what relentlessly attacks the joints and the sub-base. The maintenance calendar below is built to get ahead of it, not react to it.
The Month-by-Month Maintenance Calendar
Here’s the schedule we follow for paver driveways in North Miami Beach. Your exact timing shifts a little with how much tree cover sits over the driveway and how the sun hits it, but the sequence holds.
Dry Season: November Through April
- November: Post-hurricane-season inspection (see the checklist below). Note any shifted, sunken, or loose pavers before you do anything else. Fix these first – a sealer over a loose paver just locks in future movement.
- December: Deep clean. Pressure-wash at a controlled setting, never blasting the joints, and treat any algae or mildew with a diluted bleach or oxygenated cleaner. Let it dry for several days.
- January: Re-sand the joints with polymeric sand if a quarter or more of the joints look shallow. This is the sweet spot: low humidity, stable weather, sand cures hard.
- February to March: Apply penetrating sealer. Aim for a stretch of three to four dry days with daytime humidity under about 70 percent. Early morning application on a cool, overcast day beats a blazing afternoon.
- April: Final pre-wet-season check. Clear all drainage grates and channels, verify the driveway still slopes away from the house, and pull any weeds before their seeds spread. Reapply joint sand only where needed.
Wet Season: May Through October
- Monthly, May through October: Sweep the full driveway, pull weeds from joints while they’re young, and rinse off leaf litter and organic debris before it stains. Rinse after any storm that leaves standing water, because that water carries silt into the joints.
- After each named storm or heavy flooding event: Inspect for shifting, sand loss, and pooling.
- Mid-July checkpoint: Re-fill any joints where the sand has washed out. Do not seal – the humidity will work against you. A light touch-up sanding is all you want this time of year.
If your driveway was installed or last serviced by a team that knows our climate, it’ll hold up to the cycle. When you’re choosing who does the work, look for one that offers a real workmanship guarantee – Groundwork Construction Co. of North Miami Beach home is a good starting point for understanding what a long-horizon warranty should cover on hardscape work.
Re-Sanding Polymeric Joints: The Right Interval in a High-Rain Climate
A paver driveway is only as good as its joints. The sand between the pavers is what locks the surface together, keeps the pavers from shifting edge-to-edge, and blocks water and weed seeds from getting down into the sub-base. In a dry climate, polymeric sand can last five years or more. In North Miami Beach, expect a full re-sand closer to every two to three years, with spot re-fills annually.
The reason is our rain. Every heavy storm sheet-flows across the surface, and that moving water slowly scours sand out of the joints, especially at the crown of the driveway and along the lowest edge where water exits. Once a joint drops below about half its depth, it’s no longer doing its job. Weeds move in. Water moves in. Pavers start working themselves loose.
How to Tell It’s Time Before Weeds Make the Decision
- Pour a cup of water slowly over a joint. If it disappears fast into the joint instead of beading and running off, the sand layer has thinned.
- Press a screwdriver tip into a joint. If it sinks easily with light pressure, the polymer has broken down.
- Walk the driveway after a rain and look for channels of exposed sand or gravel pushed up against the lowest edge – that’s washed-out material that used to be in your joints.
- Check for weeds coming up in clusters. A single weed is a spot repair. Clusters mean the joint barrier has failed across a section.
The re-sanding itself is fussy work: the joints have to be completely dry and clean before the polymeric sand goes in, and the sand has to be wetted just enough to set the binder without flooding it. Do it in the dry season, on a mild day, and you’ll get a joint that lasts years. Do it on a humid August afternoon and it can fail before the weekend.
Which Sealer for Which Paver Material in Miami-Dade
Not every paver in Miami-Dade wants a sealer, and the ones that do want very different products. Using the wrong one is the second-most-common reason a paver surface ends up looking worse than before. Here’s the material-by-material breakdown.
Travertine Pavers
Travertine is popular around North Miami Beach because it stays relatively cool underfoot in the sun. The catch: travertine is naturally porous. It needs a penetrating sealer that soaks in and protects the stone’s structure rather than forming a film on top. A topcoat film sealer on travertine can trap moisture and cause spalling – the flaking you were trying to prevent. Expect to reapply a penetrating sealer every two to three years, more often on a driveway that takes full afternoon sun.
Concrete Pavers
Concrete pavers are the most forgiving. They’ll take either a penetrating or a film-forming sealer, but for a driveway in our rain, penetrating wins. A film sealer is more prone to scuffing and to whitening if moisture gets underneath. Reapply penetrating sealer every two to three years; do the same job on wet-season-exposed surfaces like the apron and the street-facing edge more often.
Porcelain Pavers
Porcelain is the low-maintenance choice and many manufacturers don’t call for a sealer at all. When one is used, it should be a penetrating sealer formulated for dense porcelain. Porcelain already resists water and stain on its own, so sealer here is mainly about keeping joint sand in place and stopping grime from settling into micro-texture. Reapply every three to four years if you use one at all.
The through-line: a penetrating sealer that breathes is almost always the right call for a seasonal-rain climate, and curing it during the dry season is non-negotiable. When you’re sourcing a paver installation or refinish, ask which brand of material and which sealer are being specified, and get it in writing. That’s part of the upfront-pricing standard we hold ourselves to at Driveway & Pavers in North Miami Beach.
Cleaning and Stain Removal Through the Year
Routine cleaning is where small effort prevents big cost. A paver surface that gets swept and rinsed every few weeks will outlast one that gets attention twice a year, because organic matter is the enemy here. Wet leaf litter breaks down into a tannin-rich sludge that stains the paver faces, and our humidity keeps that process running fast.
Here’s the cleaning rhythm that works in North Miami Beach:
- Weekly: Quick sweep or leaf-blow of the whole driveway. This is the cheapest task on the list and stops the most expensive problems.
- Monthly: Rinse the full surface with a garden hose, no pressure. Clear any drainage grate or channel.
- Quarterly in wet season: Spot-treat any algae or mildew – that green film shows up fast on shaded pavers, especially under tree canopy on the north side of a house.
- Annually in dry season: A proper deep clean with a controlled pressure-wash and a paver-safe cleaner. Skip the aggressive rotary-blast; it strips the surface and drives sand out of the joints.
For specific stains: oil and grease come up faster with a degreaser before you wet the surface, so the cleaner can lift the stain instead of pushing it deeper. Rust needs a dedicated rust remover and patience – scrubbing hard just spreads it. Tire marks and rust from patio furniture tend to be the two most stubborn spots we see. Attack both early; a stain that’s been baked in for a wet season is far harder to lift.
Post-Hurricane Inspection: The Days After a Storm
After a named storm, the driveways we get called back to are almost always the same story: a small problem that was visible in the first few days but didn’t get fixed turned into a real drainage hazard. The pavers themselves are rarely destroyed by wind. What goes wrong is the joints and the edges, and it starts quietly.
Use this checklist in the 48 to 72 hours after any significant storm:
- Walk the entire driveway and look for pavers that have tilted, sunk, or popped. Mark them with chalk or tape so you don’t lose track. Note the spots before anyone else walks or drives over them.
- Look at the low corner or drain path. Standing water that lingers more than a day or two is a warning sign – either a drain is blocked by storm debris, or the surface has shifted and is no longer draining.
- Check the joints. Any area where the sand has visibly washed out along a straight line or at the driveway edge needs to be refilled – and it needs a dry window to do it.
- Check the transition to the garage slab and to any adjoining walkway. That’s where paver displacement most often shows up first, because it’s a boundary where water concentrates.
- Clear every drain, grate, and channel of leaves, sand, and debris. Debris left in place through a wet season is the start of the next problem.
Small displacement (a single paver or a couple along an edge) is a quick relay-and-re-sand job. Broad displacement or a persistent puddle points to a sub-base problem, which is a bigger conversation. Either way, get eyes on it in the first few days, before water has a chance to undermine more of the base. Storm-season inspections are also a smart time to look over your perimeter, since high winds stress fencing as well – Fence Installation in North Miami Beach covers what a storm tough enough to move pavers can do to a fence line.
How to Log Maintenance to Protect Your Warranty and Resale
The least glamorous item on this page may be the one that saves you the most money long-term: keeping a maintenance log. Two things depend on it. Warranty coverage, because most paver workmanship and sealer warranties have maintenance conditions, and a claim that can’t show a history is easier for a manufacturer to deny. And resale, because a Florida home disclosure goes smoother when you can hand a buyer a documented maintenance record instead of saying “I think it got sealed a couple years ago.”
Here’s how to do it in a way that actually holds up:
- Log every service with a date, the product used, and who did the work. Brand names matter – record the exact sealer and polymeric sand brand and type. A product record beats a vague note every time.
- Photograph before and after each season’s work. A phone photo with the timestamp on it is enough. Store them in one folder you’ll actually find later.
- Keep invoices and the installer’s written warranty terms together. The warranty terms should specify the covered period in writing; a 730-Day Done Right Promise is the kind of thing that should be in the paperwork, not just the sales pitch.
- Note weather events. If a named storm caused the damage, a dated note helps your insurance and warranty conversations.
- Keep the log with your closing documents. When you sell, that record is a selling point for the driveway and a defensible disclosure entry for the buyer.
We can’t overstate the warranty angle. A paver system that’s been sealed with the right product on the right schedule inside its warranty window stays protected. One that was sealed in August with the wrong sealer, or never sealed at all, can void coverage when the failure shows up. A written record protects the investment on both fronts.
When It’s a Sub-Base Problem, Not a Surface Problem
Every so often a driveway that’s been beautifully maintained still develops problems: sinkholes opening along the edge, a whole section that dips, pavers that feel hollow or rock when you walk on them, or water that pools in a spot no amount of re-sanding can fix. That’s a sub-base issue, and no amount of maintenance will touch it. The base under the pavers has moved, compacted wrong, or stopped draining.
In North Miami Beach, sub-base problems tend to show up in three ways: high water table pockets where the base stays saturated, drainage that was never graded to move water off the driveway, or settlement at the transition where the driveway meets a garage slab or street apron. None of these are surface fixes. They mean pulling a section of pavers, re-doing the base, re-compacting, and re-setting. That’s a project, not a maintenance task, and it’s where a qualified contractor earns their keep.
It’s also worth knowing that if you’re planning a larger addition over or beside the driveway – a covered carport, a garage extension, an in-law suite – the driveway scope changes entirely, and the base has to be built to handle the new load. If that’s on your horizon, Home Additions & ADU in North Miami Beach explains how site work like driveways and drainage ties into a bigger build.
Common Mistakes to Avoid
- Sealing during rainy season or on a high-humidity day. This is the number-one mistake. Sealing in May through October, or on a muggy November morning, traps moisture under the film – the exact staining and spalling you were trying to prevent.
- Power-washing the joints at full blast. A rotary blast strips the surface and shoots the sand right out of the joints. Controlled pressure with the right wand angle is the whole game; aggressive pressure-washing is a repair bill waiting to happen.
- Re-sanding with plain sand instead of polymeric. In a high-rain climate, plain sand washes out in a single storm. Polymeric sand is what locks the joint in place through the wet season.
- Ignoring small displacement after a storm. A shifted paver at the low edge becomes a pooling problem in the next heavy rain, and pooling water undermines the base around it. The fix in the first 48 hours is small; the fix three months later usually isn’t.
- Using a film sealer on travertine. Travertine traps moisture under a film coat and spalls. A penetrating sealer formulated for stone is the correct choice, not a topcoat.
- Skipping the maintenance log. Owners who can’t document their service history get their warranty claims hassled and complicate their own home disclosure at resale. Log it as you go.
- Judging the whole driveway by the visually worst paver. A single problem spot gets a spot fix. A run of problems means look deeper at the base and drainage. Fixing the wrong thing wastes the budget.
See the difference
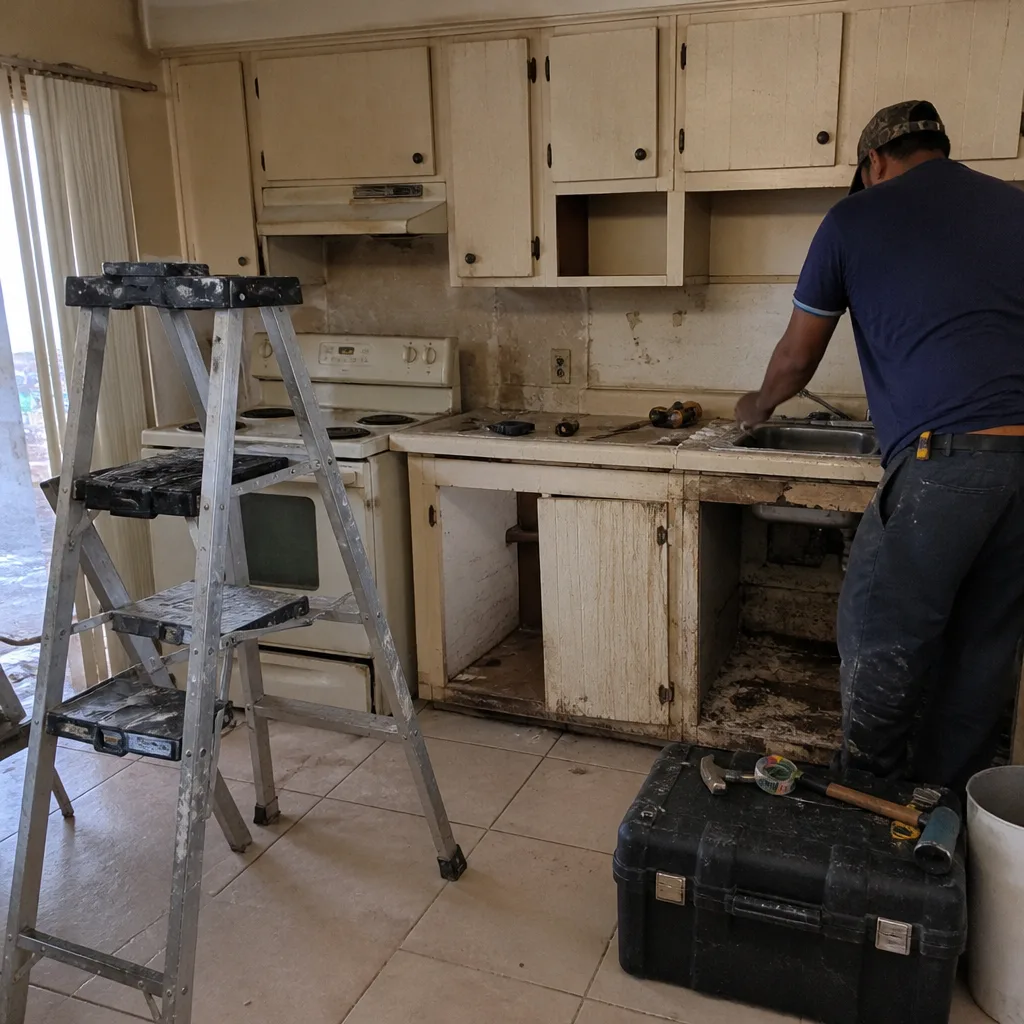 Before
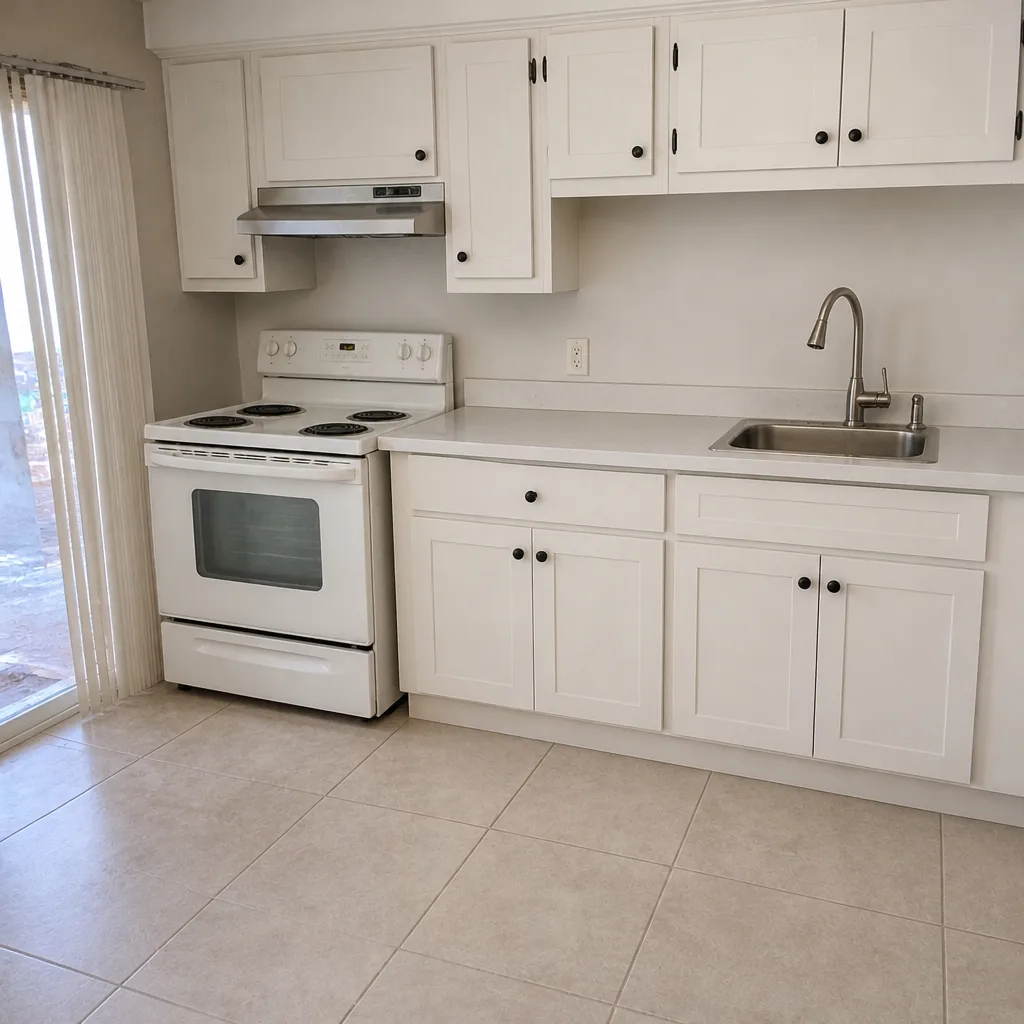 After
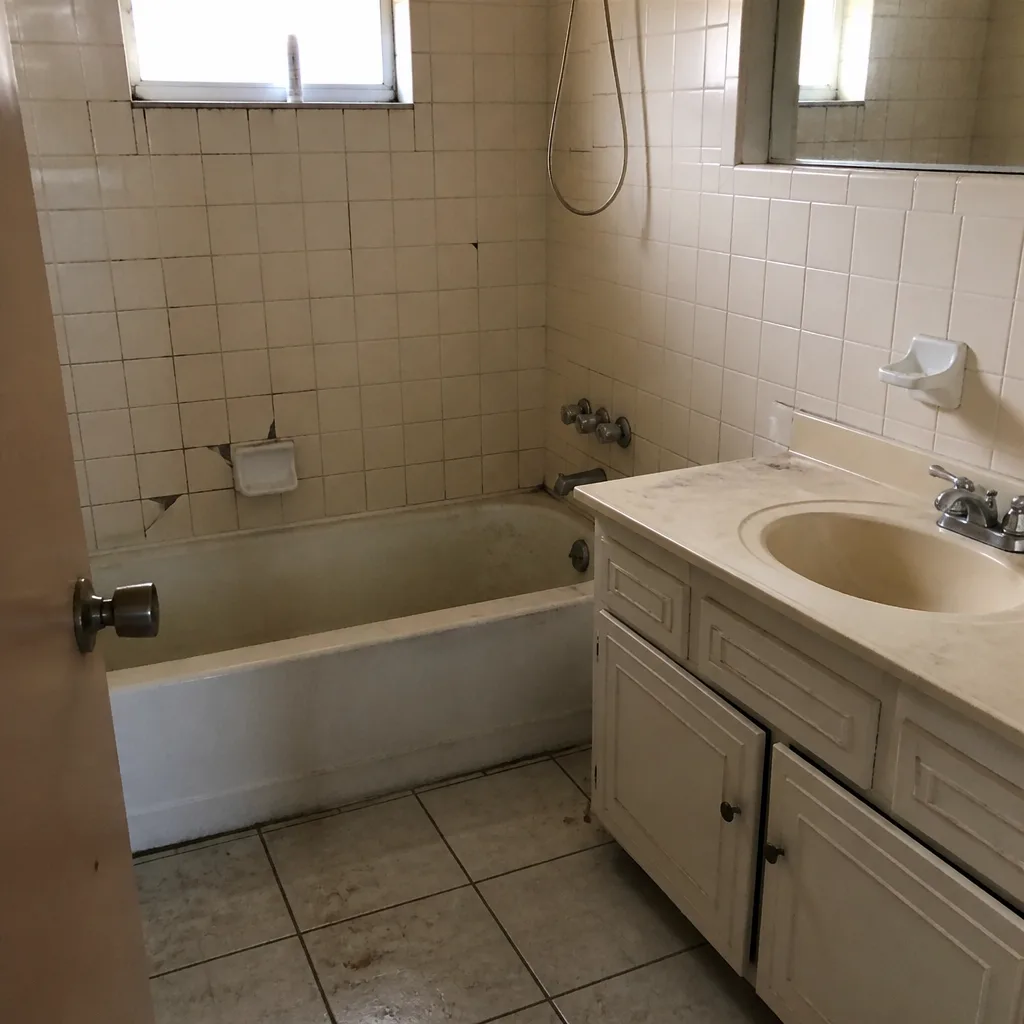 Before
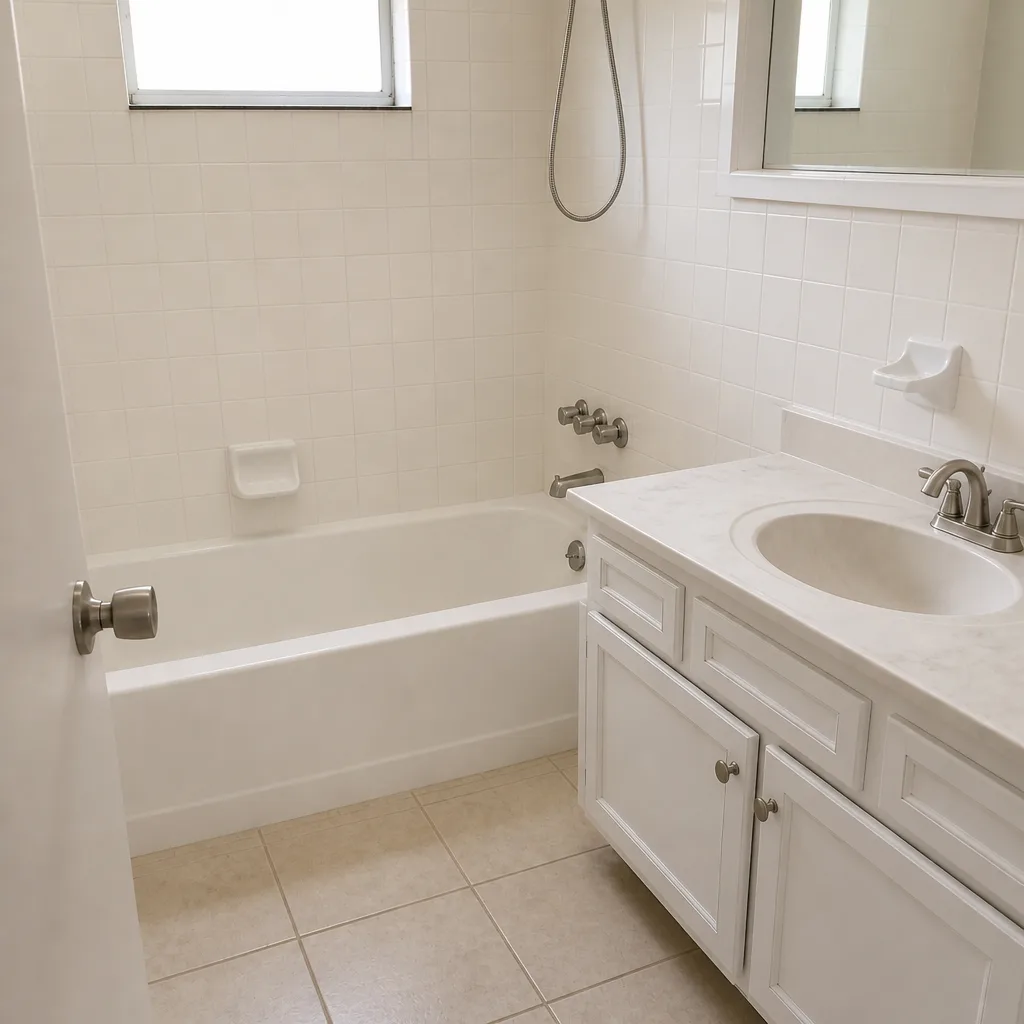 After
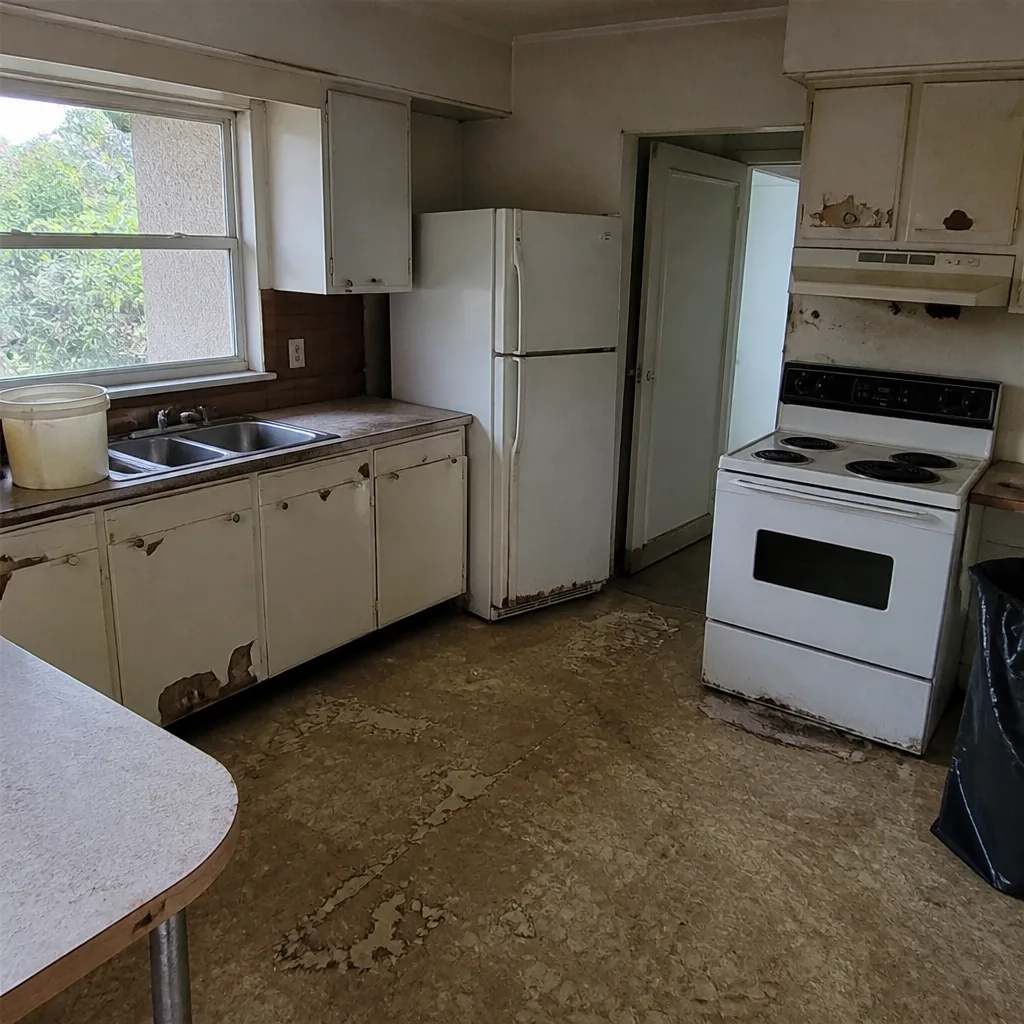 Before
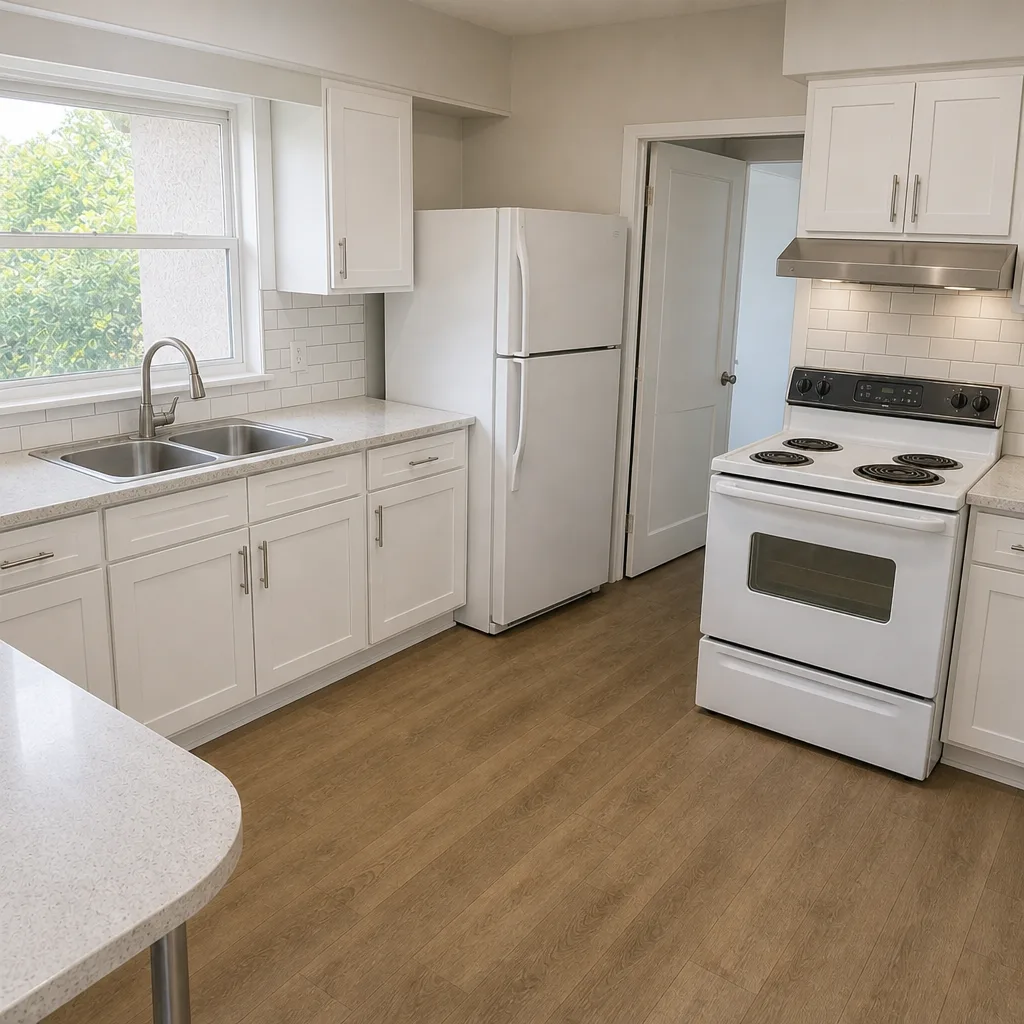 After
When to Call a Professional
Most routine paver maintenance in North Miami Beach is manageable with a hose, a broom, and a bit of patience. Call a professional when the problem goes beyond the surface:
- Pavers that rock, feel hollow, or have sunk in a whole section – that’s a base issue.
- Standing water that doesn’t drain even after you’ve cleared every grate and channel.
- Joint loss over a large area, especially after a storm, where re-sanding is now a bigger job than a weekend task.
- Spalling, clouding, or whitening on a surface you sealed – the sealer may have been applied in the wrong conditions and needs to come off.
- Any project bigger than maintenance: a full re-lay, a re-grade, a new paver driveway, or driveway work tied into an addition or a new build.
Groundwork Construction Co. of North Miami Beach offers free estimates in North Miami Beach – call (844) 797-4868. Estimates come with upfront pricing in writing, and the work is backed by the 730-Day Done Right Promise.
Frequently Asked Questions
Every two to three years with a penetrating sealer, applied during the dry season from November through April. In our climate, sealing in the rainy months between May and October traps moisture and causes the staining and spalling the sealer is meant to prevent. Travertine and concrete need re-sealing on the two-to-three-year interval; porcelain often needs none at all.
Plan on a full re-sand every two to three years, with spot re-fills annually. Our heavy rain scours sand out of the joints faster than in dry climates. If your joints are below half-depth, water beads off them instead of soaking in, or weeds are coming up in clusters, it’s time – don’t wait for the weeds to make the decision. Call (844) 797-4868 for an exact quote on a re-sand – estimates are free.
White or cloudy patches after sealing almost always mean moisture was trapped under the sealer, usually because it was applied when the pavers or the air were too damp. In North Miami Beach that’s typical of a summer or early-fall sealing job. A film sealer on travertine can also cloud and spall. The fix is usually stripping the sealer and re-doing it in a dry window with a penetrating product – a contractor evaluation is the right first step.
Light rinsing with a garden hose is fine anytime. Full pressure-washing is where homeowners get into trouble, because a rotary-blast at high pressure strips the surface and shoots the joint sand out. If you do it, use a controlled nozzle at a shallow angle and keep it moving, and never aim straight down into the joints. When in doubt, leave the annual deep clean to a professional who knows our paver types.
In the first 48 to 72 hours, walk the driveway and mark any tilted, sunken, or popped pavers; check for standing water that lingers more than a day; look for washed-out joints along the edges and drainage paths; check the transition to the garage slab and any adjoining walkway; and clear every drain and gutter of debris. Catching small displacement early prevents a minor re-sand from becoming a drainage repair.
Routine maintenance – cleaning, re-sanding, re-sealing – doesn’t need a permit. A full driveway replacement or a change to how water flows off the property can involve permitting, and the rules around grade and drainage vary by jurisdiction. Ask before you pull pavers on a full re-do, and get the scope in writing. A free estimate from a licensed contractor will spell out what, if anything, needs a permit.
The Bottom Line
Paver maintenance in North Miami Beach is less about effort and more about timing. The right jobs in the right window – deep clean and re-sand in December and January, sealer in February and March, light upkeep through the wet season, a fast inspection after every storm – keep a paver driveway looking and performing like the day it was laid. Miss the windows and you compound small problems into base repairs. Get ahead of the calendar and a paver surface can hold decades. Every sentence above is one job we take to the driveway. When your maintenance escalates to a re-lay, a re-grade, or a new build, that’s the work we do best.
Get Your Free Estimate
Groundwork Construction Co. of North Miami Beach built this guide from the maintenance patterns we see across North Miami Beach – the sealing failures, the storm-season repairs, the sub-base problems that trace back to a missed window. If you’re pricing a re-sand, a sealer strip-and-replace, or a full driveway replacement, call (844) 797-4868 for a free estimate. You’ll get a live person on the line, upfront pricing in writing, honest answers about whether it’s a maintenance fix or a bigger project, and work backed by our 730-Day Done Right Promise.
Written by the team at Groundwork Construction Co. of North Miami Beach.