Last updated November 17, 2026





Free written scope consultation - allowances, timeline, and change-order rules on paper before a single trade is scheduled
Driveway & Pavers Troubleshooting: Common Problems and How to Fix Them
A sunken paver isn’t a paver problem. It’s a base failure problem wearing a paver’s face. Reset that one block by hand and it sits flat for a season, then drops again – usually within 18 months – because nothing under it changed. That’s how frustrated homeowners end up paying twice for the same square of driveway. In North Miami Beach, where the water table sits high and the summer rain comes sideways, the ground under a driveway does more work than the pavers themselves. This guide teaches you to read what your driveway is telling you before you spend a dollar: how to tell a base failure from a sand problem from a drainage problem, what the warning signs actually mean, and which fixes hold for good.
Quick Answer
Most driveway and paver problems in North Miami Beach come down to three root causes: a compacted base that has failed, bedding sand that has washed or shifted, or water that isn’t draining away from the slab. Surface symptoms – sunken pavers, loose edges, sand between joints, white crust – almost always trace back to one of those three. The fix depends entirely on which one you’ve got, and resetting the visible paver without diagnosing the cause is why the same spot fails again and again.
Styles & brands we work with
- Kitchen remodeling
- Bathroom remodeling
- Home additions & ADU
- Roofing
- Windows & doors
- Driveway & pavers
- Fence
Table of Contents
- How Do You Diagnose a Paver Problem Before You Fix It?
- Base Failure: The Problem Six Inches Underground
- Bedding Sand Problems: What’s Really Happening Between the Pavers
- Drainage Problems: Why Water Is Your Driveway’s Worst Enemy in North Miami Beach
- Edge Restraint Failure: The Warning Sign Most Homeowners Ignore
- Efflorescence: What Those White Stains Are and How to Clean Them Correctly
- Cracked Pavers: Structural or Cosmetic?
- DIY Repair vs. Professional Repair: Which Will Actually Hold?
How Do You Diagnose a Paver Problem Before You Fix It?
Walk your driveway after a hard rain – not during, but a few hours after, when the water should be gone. Where does it pool? Where does it drain? Note the spots that stay wet longer than everywhere else. That’s your first diagnostic clue, and it tells you more than any visual inspection of the pavers themselves.
Then run this four-step check:
- The wobble test. Step on the suspect paver and rock your foot. If it moves independently of its neighbors, the bedding layer under it has failed or washed. If it sinks with the pavers around it, the base is failing more broadly.
- The joint check. Look at the sand lines between pavers. Wide, empty joints with sand running away means the bedding is being lost – usually to water. Joints that look fine but pavers are lipping means the base is settling.
- The edge check. Press on the outermost row along the driveway border. If those pavers are spreading outward or tipping, your edge restraint is the culprit – and once it fails, movement spreads inward.
- The puddle map. Mark the low spots where water sits for more than 24 hours. Those are drainage problems, and they’ll keep undermining any repair you make until the water is redirected.
We’ve seen North Miami Beach driveways fail this way more than any other. The combination of a high water table, sandy soil that shifts under load, and 50-plus inches of annual rain means the ground under a paver driveway is constantly being tested. A paver that looks fine on a dry Tuesday can be sitting on saturated sub-grade by Thursday afternoon. Understanding the soil and water conditions in your neighborhood – whether you’re near the Intracoastal or further inland off Biscayne Boulevard – tells you what kind of fix you’re actually looking at.
Base Failure: The Problem Six Inches Underground
The base is the compacted layer of crushed stone and aggregate that sits between the natural soil and the bedding sand. It’s the load-bearing structure of your entire driveway. When it’s installed correctly and compacted in lifts, a paver driveway can last decades. When it isn’t, the pavers start telling you within a few rainy seasons.
What base failure looks like:
- A dip or bowl shape that spreads across several pavers rather than one isolated block
- Pavers that feel “spongy” or hollow underfoot, especially after rain
- Lipping – where one paver edge sits noticeably higher than its neighbor
- Water pooling in the same low spot every single time it rains
- Hairline cracks radiating from the corners of multiple pavers in the same zone
Why does base failure happen? In North Miami Beach, three things accelerate it. First, water. If the base wasn’t graded to drain and the soil around it stays saturated, the crushed stone loses its compaction and the pavers settle. Second, poor initial compaction – a base that was laid in one thick lift rather than several thin ones can’t compact properly and will fail under traffic. Third, tree roots and soil movement, both common in established North Miami Beach neighborhoods where mature oaks and palms push through the substrate.
The temptation is to lift the sunken pavers, toss in some sand, and reset them. That fix lasts about a season. The real repair means removing the pavers in the affected zone, excavating down to the failed base layer, re-grading, re-compacting in proper lifts, and re-laying. This is the diagnostic difference that matters: if the problem is the base, no surface-level fix will solve it permanently. When the base is sound and only the bedding has washed out, you’re looking at a much smaller job. Before you commit to either, get a proper assessment – driveway & pavers in North Miami Beach done by a crew that knows how to diagnose the base, not just reset the pavers.
Bedding Sand Problems: What’s Really Happening Between the Pavers
Bedding sand is the inch or so of fine, washed sand that sits directly under the pavers and locks them together through friction. It’s the layer homeowners see when they pull up a loose block and think “I need more sand.” Sometimes that’s true. Often it isn’t.
Bedding sand problems fall into three categories:
- Washed-out sand. Water running through the joints has carried the sand into the base or out to the edges. The pavers lose their lock and start to shift. This is a symptom of a drainage problem, not just a sand shortage.
- Contaminated sand. If dirt, silt, or organic material has mixed into the bedding layer, it won’t compact the way clean sand does. The pavers sit uneven.
- Insufficient sand from installation. Too little bedding sand means the pavers don’t interlock properly, and every joint becomes a weak point under load.
The tell between a bedding sand problem and a base failure: bedding sand problems tend to show up as loose individual pavers or wide joints in a localized area, especially near the edges or where runoff concentrates. Base failures show up as a wider, deeper settling pattern. If you can pull a paver up, dig down an inch, and find clean sand that’s still compacted, the bedding is likely fine and the problem is elsewhere. If you find sand that’s wet, loose, or full of dirt, the bedding layer has been compromised – and before you re-sand, you need to figure out where the water is coming from.
Re-sanding joints is a legitimate maintenance task, and it’s one homeowners can do. Re-sanding to solve movement is not, because it doesn’t address the cause. And in North Miami Beach, where summer downpours can deliver an inch of rain in an hour, re-sanding a driveway that doesn’t drain properly just repeats the cycle.
Drainage Problems: Why Water Is Your Driveway’s Worst Enemy in North Miami Beach
Every paver problem on this page has water as a co-conspirator. In North Miami Beach, with its flat terrain and high water table, water doesn’t disappear quickly. It sits in the soil, it presses up from below, and it works its way into every weak point in a driveway.
The signs of a drainage problem:
- Standing water in the same low spots after rain
- Pavers that are damp long after the rest of the driveway has dried
- A green tint of algae or moss along the joints in shaded areas
- Sand in the gutter or at the edge of the driveway after a storm (sand is washing out)
- Soft, spongy soil along the driveway perimeter
Fixing drainage isn’t a paver job – it’s a grading and water-management job. Depending on the driveway, the fix might involve re-grading the surrounding soil so it slopes away from the driveway, installing a drainage channel at the low end, adding a French drain along the perimeter, or regrading the base itself so it sheds water during installation. In North Miami Beach, some properties require a small dry well or swale to manage runoff without dumping water onto a neighbor’s property – and code requirements on stormwater management vary by lot. A driveway that drains properly is one that stays put.
We can’t stress this enough: if you have a recurring puddle and you fix the pavers without fixing the drainage, the puddle comes back and the pavers move again. The drainage assessment is often the cheapest part of the repair and the most important. When we quote a driveway & pavers project in North Miami Beach, the first thing we look at isn’t the pavers – it’s where the water goes.
Edge Restraint Failure: The Warning Sign Most Homeowners Ignore
Edge restraint is the border – concrete curb, aluminum edging, or steel – that holds the outermost row of pavers in place. Without it, the pavers spread outward like a deck of cards without a box. And once they start spreading, the movement travels inward across the whole driveway.
How to spot edge restraint failure before it spreads:
- Stand at the edge of your driveway and look straight down the border row. If those pavers are leaning or fanning outward, the restraint has lost its hold.
- Check where the driveway meets the grass or sidewalk. Is there a gap between the pavers and the edging? Is the edging itself cracked, tilted, or partly buried?
- Look for sand accumulating against the edge after rain. That sand is coming from the joints, which means the pavers are moving.
- Press on the corner pavers. If they feel loose or you can work a finger under the edge, the restraint is compromised.
Fixing edge restraint early is one of the cheapest interventions in paver maintenance. A failing edge can be reset with fresh concrete or new restraint profiles in a day, and the spread stops. Wait six months and the movement reaches the second and third rows, and the repair becomes a section rebuild rather than an edge fix. In North Miami Beach, where root systems and heavy rain push against edging constantly, edge inspection should be an annual habit – the same way you’d check your fence posts and gates, which is why we cover seasonal fence inspection in our fence installation in North Miami Beach guide.
What kills edge restraint? Three things: inadequate bedding under the edging (same failure mode as the base), tree roots pushing up from below, and runoff running along the edge and scouring the soil out from under it. The fix addresses all three. Just reattaching a loose piece of edging without addressing the soil underneath is a temporary patch.
Efflorescence: What Those White Stains Are and How to Clean Them Correctly
Efflorescence is the white, chalky staining that shows up on paver surfaces, especially along the joints and edges. It’s a natural process: water moves through the concrete or clay paver, dissolves mineral salts inside, and carries them to the surface where they dry and leave a crust. It’s not damage. It’s a sign that water is moving through the pavers – which in North Miami Beach, with all that humidity and rain, is almost inevitable.
But here’s where homeowners get it wrong: the instinct is to blast efflorescence off with a pressure washer on high. That’s exactly the wrong move. High-pressure washing drives water deeper into the pavers, which brings more salts to the surface, which means more efflorescence – usually within a couple of weeks. It also erodes the joint sand and loosens the pavers. What looks like a fix makes the underlying condition worse.
The correct approach:
- Start with a dry brush and a stiff broom. Some surface efflorescence brushes off once it’s fully dry.
- Use a dedicated efflorescence remover – a mild acidic cleaner made for masonry, not a generic degreaser. Dilute per the label, apply to a test patch first, and rinse thoroughly.
- Keep the pressure low. A garden hose and a soft brush will do more good than a pressure washer on high.
- Let it dry completely and monitor for several weeks. If efflorescence returns quickly, the source is ongoing moisture – which means the drainage inspection is the real maintenance task, not the cleaning.
- Consider a breathable sealer once the pavers are dry and clean. A sealer made specifically for pavers can reduce moisture penetration and slow the return of the salts. Skip the cheap, film-forming sealers – they trap moisture and make the problem worse.
Efflorescence that appears on a new driveway in the first few months is completely normal and usually fades. Efflorescence on an older driveway that keeps coming back is telling you about moisture. In North Miami Beach, that’s usually a drainage or irrigation issue, and it’s worth investigating before you spend money on cleaners that keep getting beaten.
Cracked Pavers: Structural or Cosmetic?
A cracked paver is either telling you something important or it’s a cosmetic nuisance. The test to distinguish between them takes about five minutes.
Run this check before you assume you need a section replacement:
- Look at the crack pattern. A single hairline crack running from one edge to the other is usually cosmetic – thermal stress, a heavy impact, or a paver that was slightly defective from the factory. Multiple cracks radiating from a corner or in a spiderweb pattern suggest a structural issue.
- Press on the cracked paver. If it’s solid and doesn’t move, the base under it is probably fine. The crack is cosmetic. If it rocks or sinks, the base under it has failed, and that’s structural.
- Look at the pavers around it. Is the crack isolated, or are the neighboring pavers showing lipping, settling, or their own cracks? Isolated cracks are one thing; a cluster is another.
- Check the crack location. Cracks near a driveway edge or near a drain are most likely tied to edge restraint or drainage problems. Cracks in the middle of the driveway point to base failure or heavy point loads (a loaded truck, for instance).
Cosmetic cracks don’t need to be fixed for structural reasons – they’re a matter of aesthetics, and replacing a single paver is a reasonable approach. Structural cracks are a warning. The cracked paver is the messenger; the problem is under it. In that case, replacing the paver without fixing the base just means the new paver cracks too. If you’re noticing structural cracks combined with settling or water pooling, the repair is a section rebuild, not a paver swap.
One more North Miami Beach note: pavers installed on top of a poorly prepared base often develop cracks along the same line, year after year. If you’ve had paver cracks repaired more than twice in the same area, the base is the problem – and it’s time to stop patching and get an assessment.
DIY Repair vs. Professional Repair: Which Will Actually Hold?
Some driveway repair jobs are genuinely within reach for a homeowner. Others are not, and doing them anyway is how you end up paying more than if you’d called us first. Here’s the honest split.
Repairs that hold up as DIY:
- Re-sanding joints with clean, polymeric sand after washing them out – provided the pavers themselves are stable
- Cleaning efflorescence with a masonry-appropriate remover
- Replacing a single cracked paver in an area where the surrounding pavers are solid
- Pulling weeds from joints and re-sanding
- Redirecting a downspout or irrigation head that’s dumping water onto the driveway
Repairs that need professional assessment and equipment:
- Base failure – requires excavation, proper base material, and compaction equipment. Hand tampers don’t achieve the compaction density a driveway needs, and a poorly compacted base fails again.
- Edge restraint replacement – requires re-setting the restraint with proper concrete or edging, and re-establishing the boundary soil.
- Drainage correction – grading, channel drains, French drains, or swales, depending on the property. This often touches code compliance and adjacent property.
- Section rebuilds – any repair that removes pavers in a zone requires re-establishing the base, bedding, joints, and edge together.
The judgment call isn’t just about difficulty. It’s about whether the fix addresses the cause. A DIYer can pull up a sunken paver and re-set it in an hour. Six months later, that paver is sunken again because nothing under it changed. The professional fix is the one that starts with a diagnosis, not a repair. If you’re planning bigger changes to your property – a driveway rebuild alongside an addition, say – coordinating the scope so you’re not doing one job now and re-doing it after another is worth planning for, which is why our home additions & ADU in North Miami Beach page walks through how to sequence construction projects that touch the same ground.
Common Mistakes to Avoid
- Resetting the paver without diagnosing the base. If the base failed, the paver sinks again within a season or two. The correct fix is the one under the surface, not on it.
- Pressure-washing efflorescence on high. It drives water deeper into the pavers, brings more salt to the surface, and erodes joint sand. A low-pressure wash after the correct masonry cleaner will do more good.
- Ignoring edge restraint movement. Spreading starts at the edge. Waiting until the movement reaches three rows means a full section rebuild instead of a same-day edge fix.
- Adding sand to solve a drainage problem. In North Miami Beach, sand added to slow drainage just creates a softer base. The water has to go somewhere.
- Replacing a cracked paver without checking what’s underneath. Cosmetic cracks are fine to swap. Structural cracks mean the new paver will crack too.
- Sealing with a film-forming product that traps moisture. Breathable sealers slow moisture penetration. Cheap sealers trap water inside and accelerate the efflorescence cycle.
- Skipping the annual inspection after hurricane season. North Miami Beach driveways take a beating between June and November. A walk-through after the season, checking edge restraint and drainage, catches small problems before they become rebuilds.
See the difference
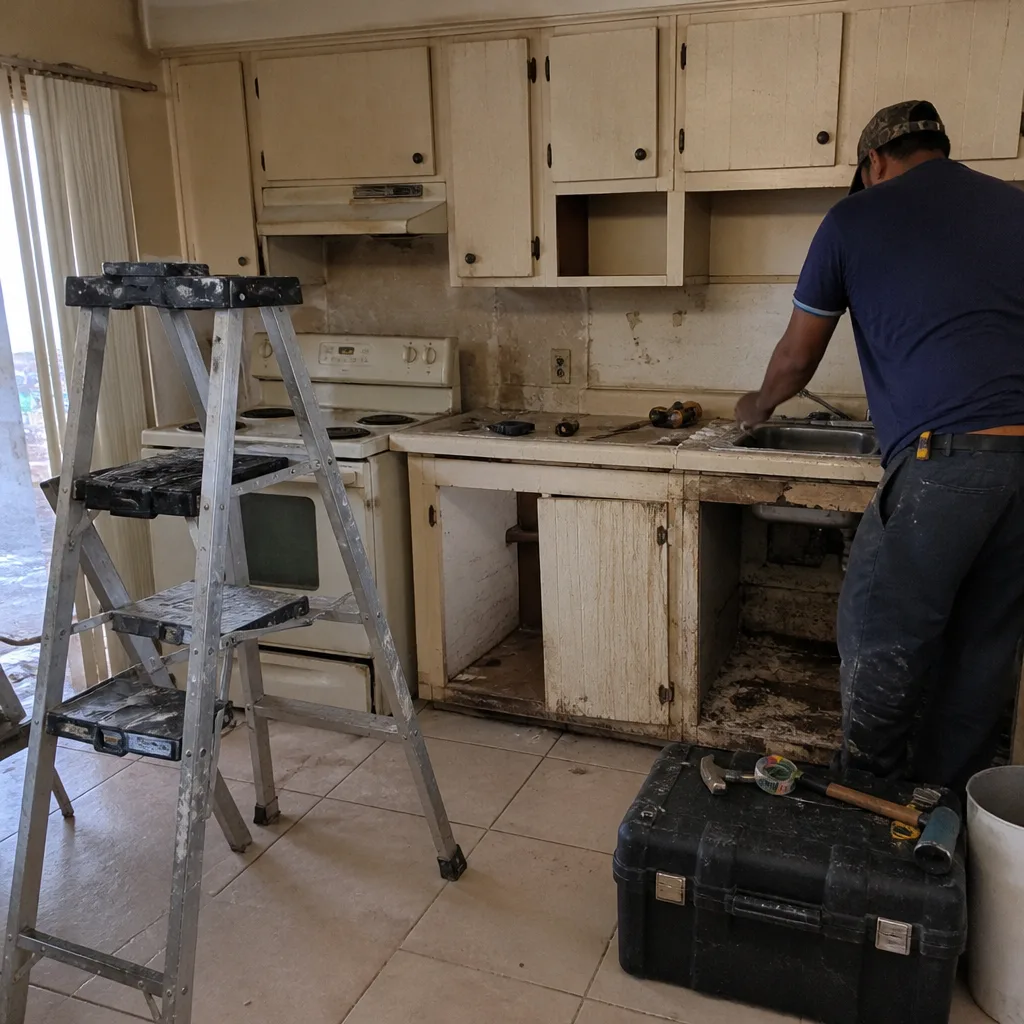 Before
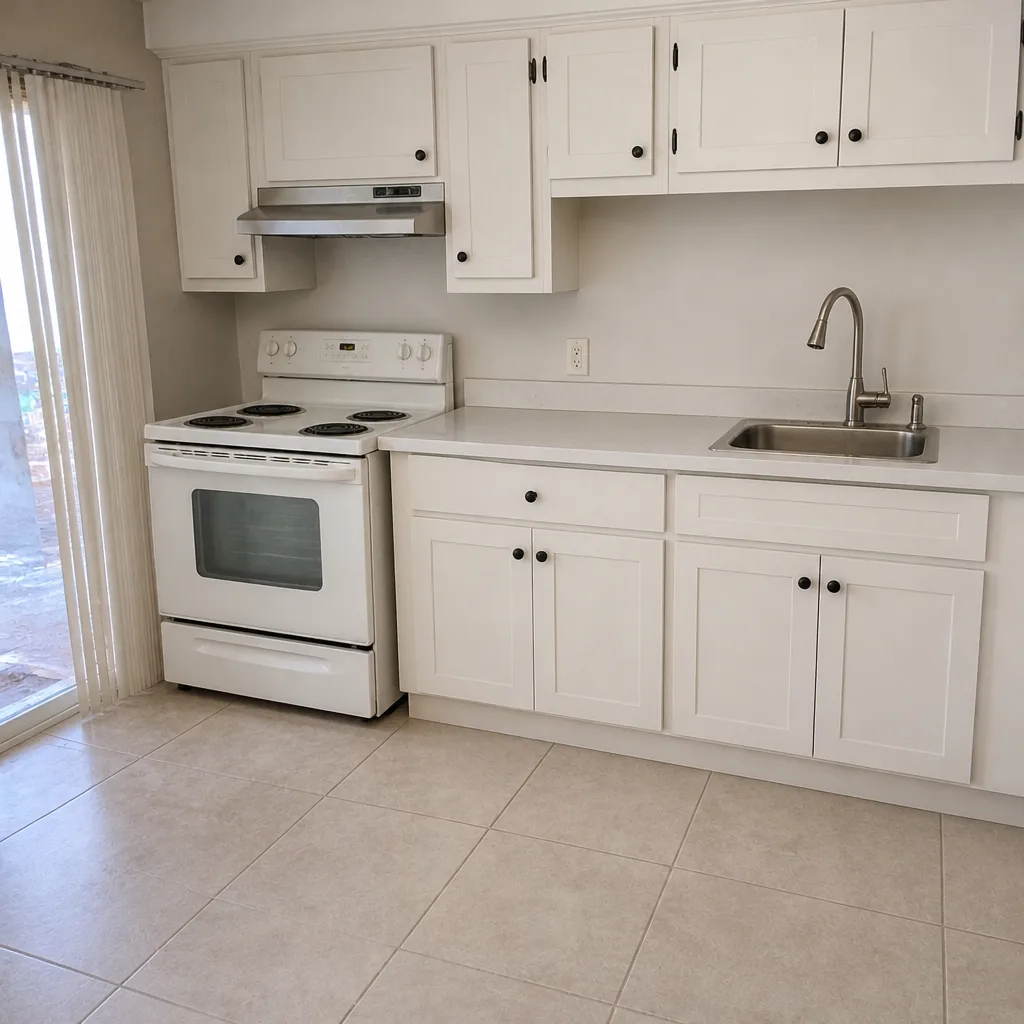 After
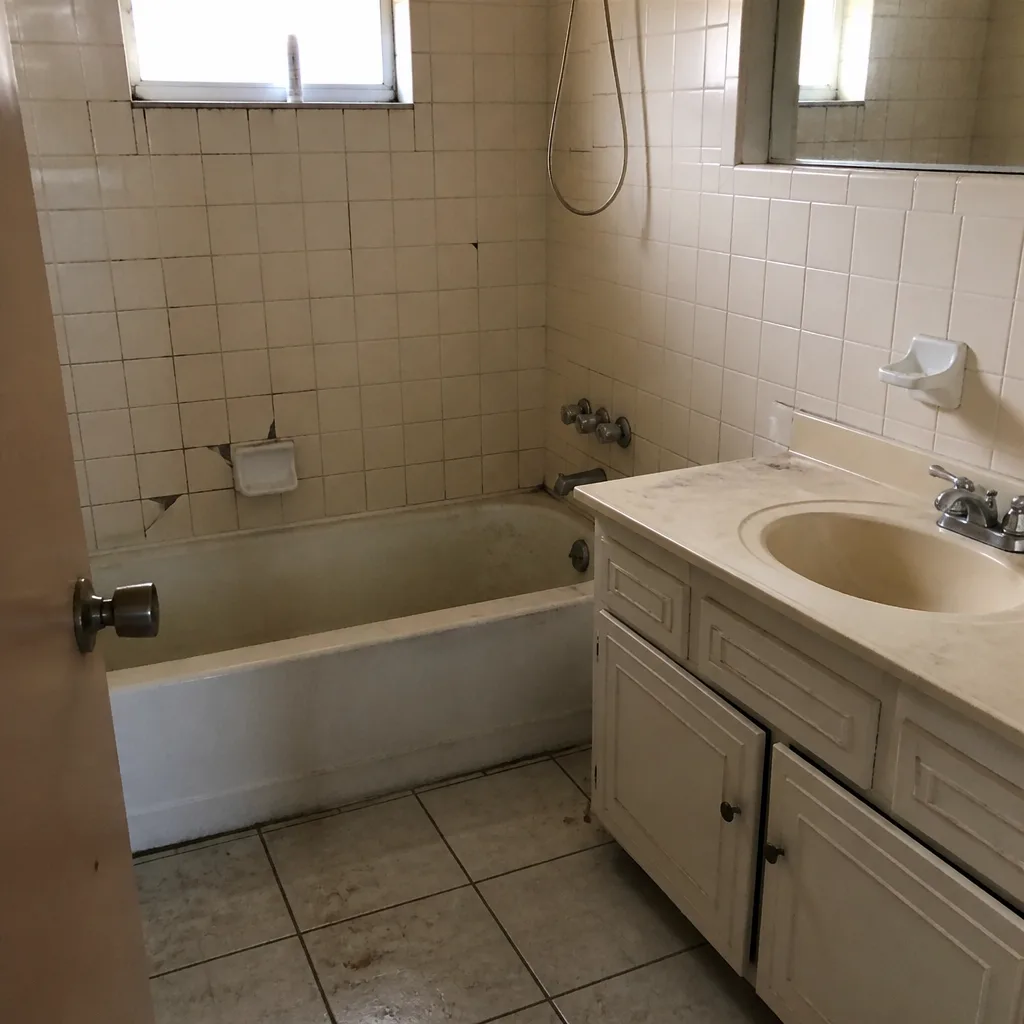 Before
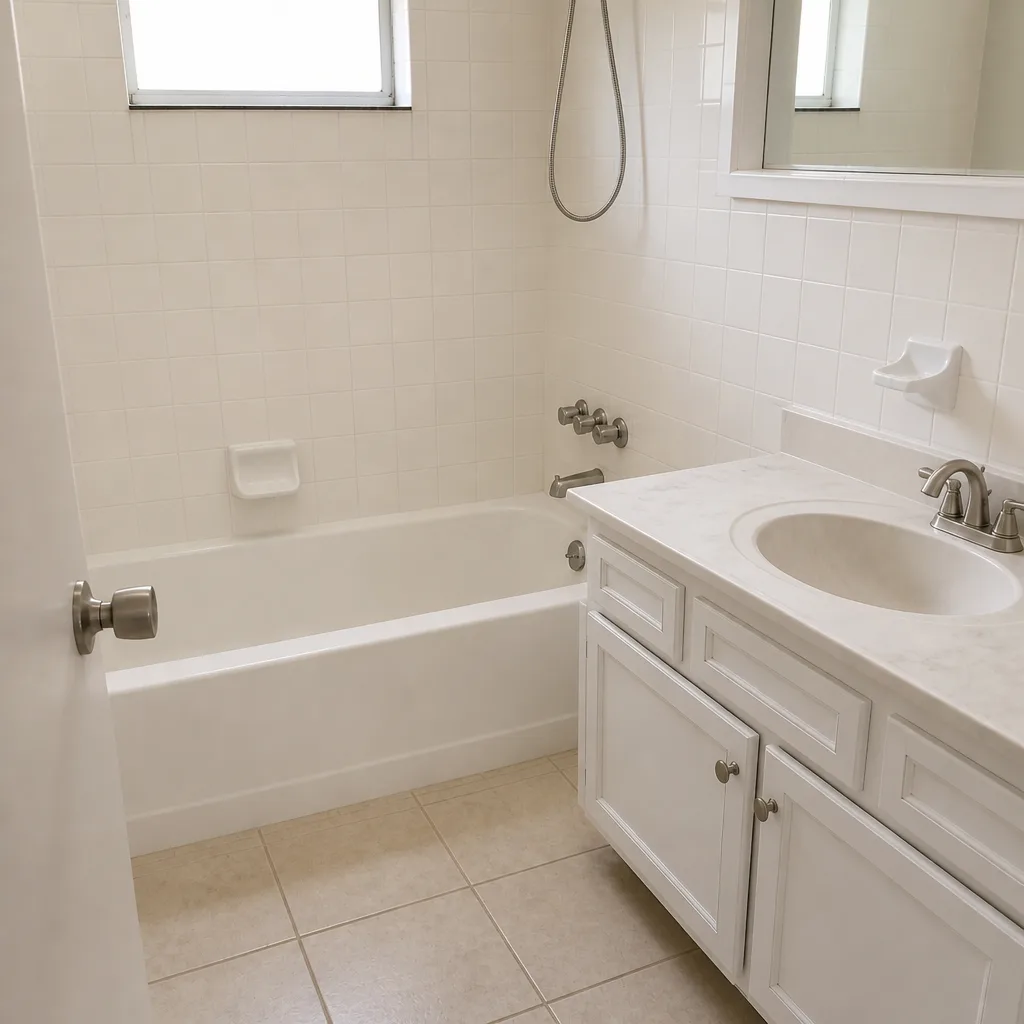 After
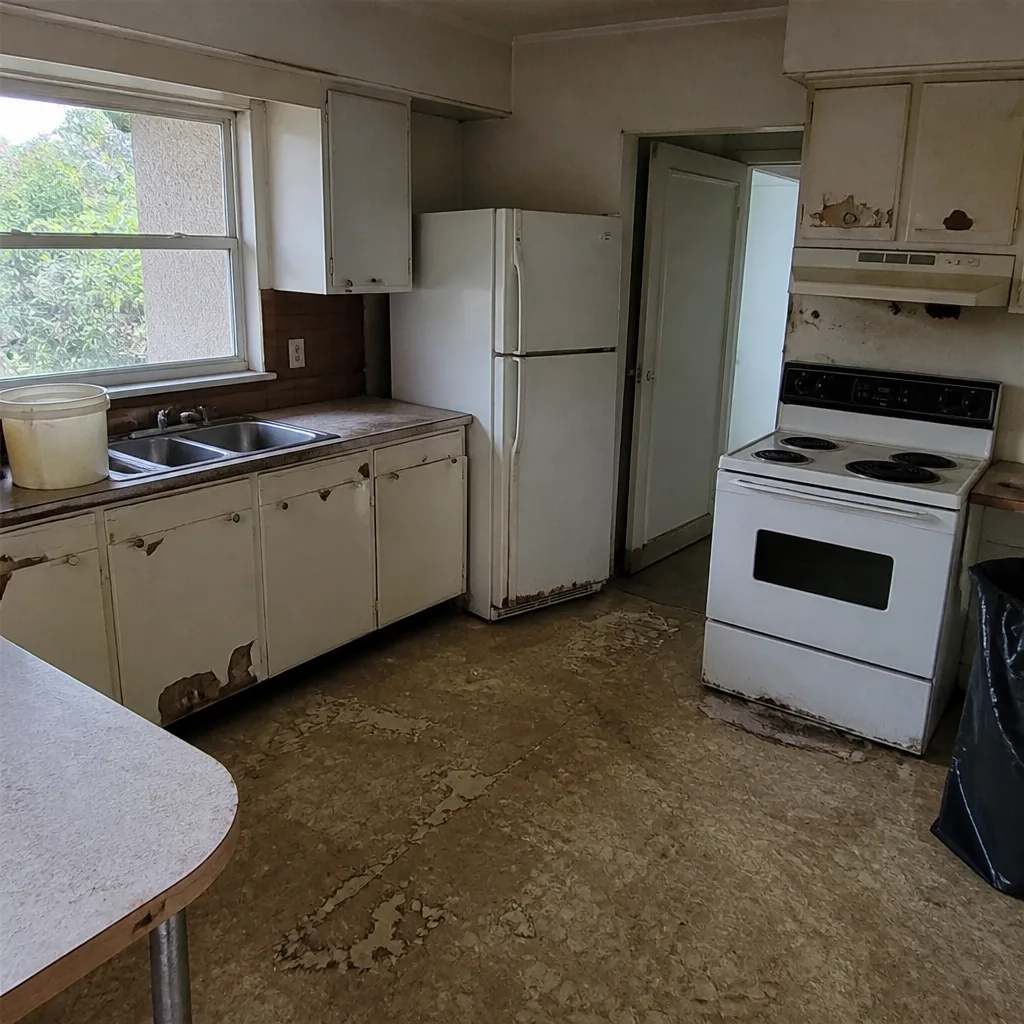 Before
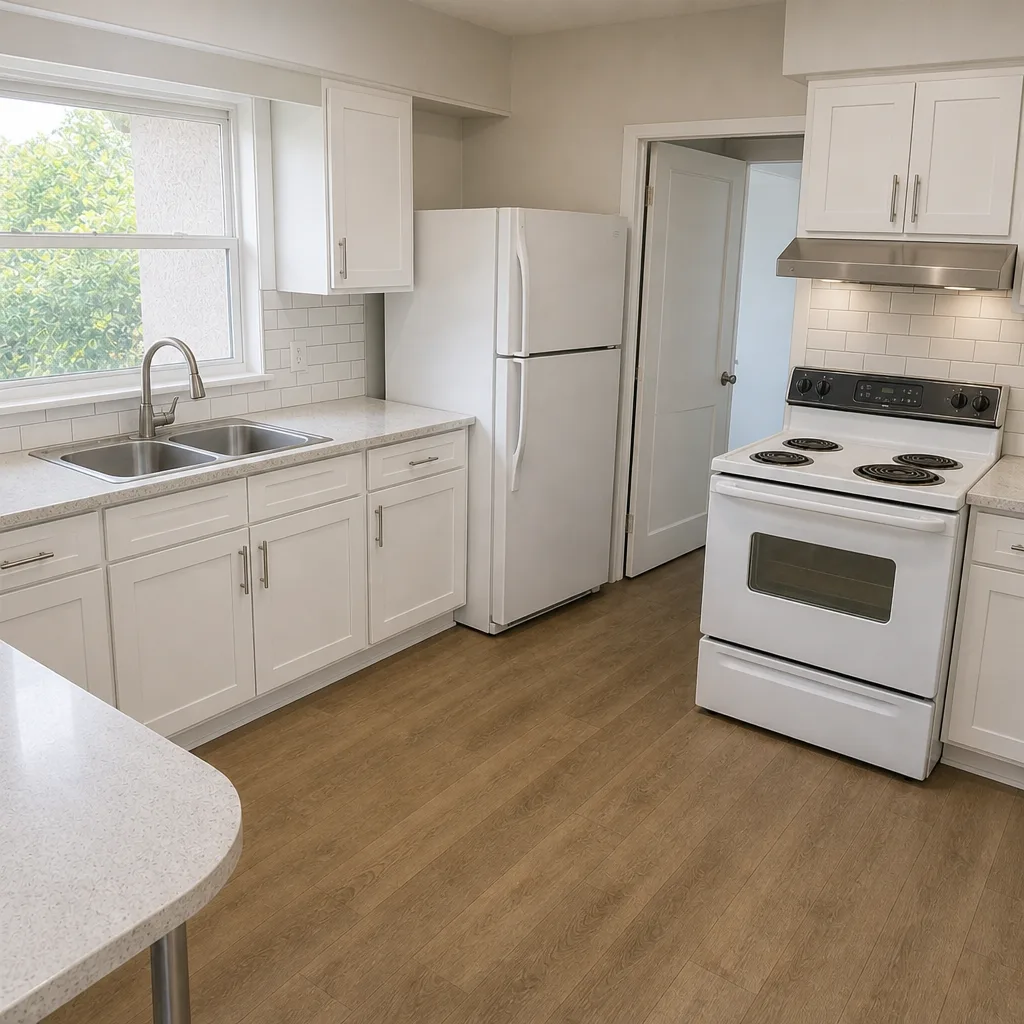 After
When to Call a Professional
Call a professional when you’re seeing any of the following: a recurring low spot that fills with water every rain, multiple pavers settling in a zone rather than a single loose block, spreading edge movement along the border, structural crack patterns with settling underneath, or efflorescence that comes back within weeks of a proper cleaning. Those signs point to base, drainage, or edge problems that a surface repair won’t solve. Our technicians have up to 12 years of experience diagnosing exactly these conditions, and the assessment that starts a proper repair is the same one that tells you the answer. Groundwork Construction Co. of North Miami Beach offers free estimates in North Miami Beach – call (844) 797-4868. You’ll reach a live person 24/7, and the number we quote is the number you pay.
Frequently Asked Questions
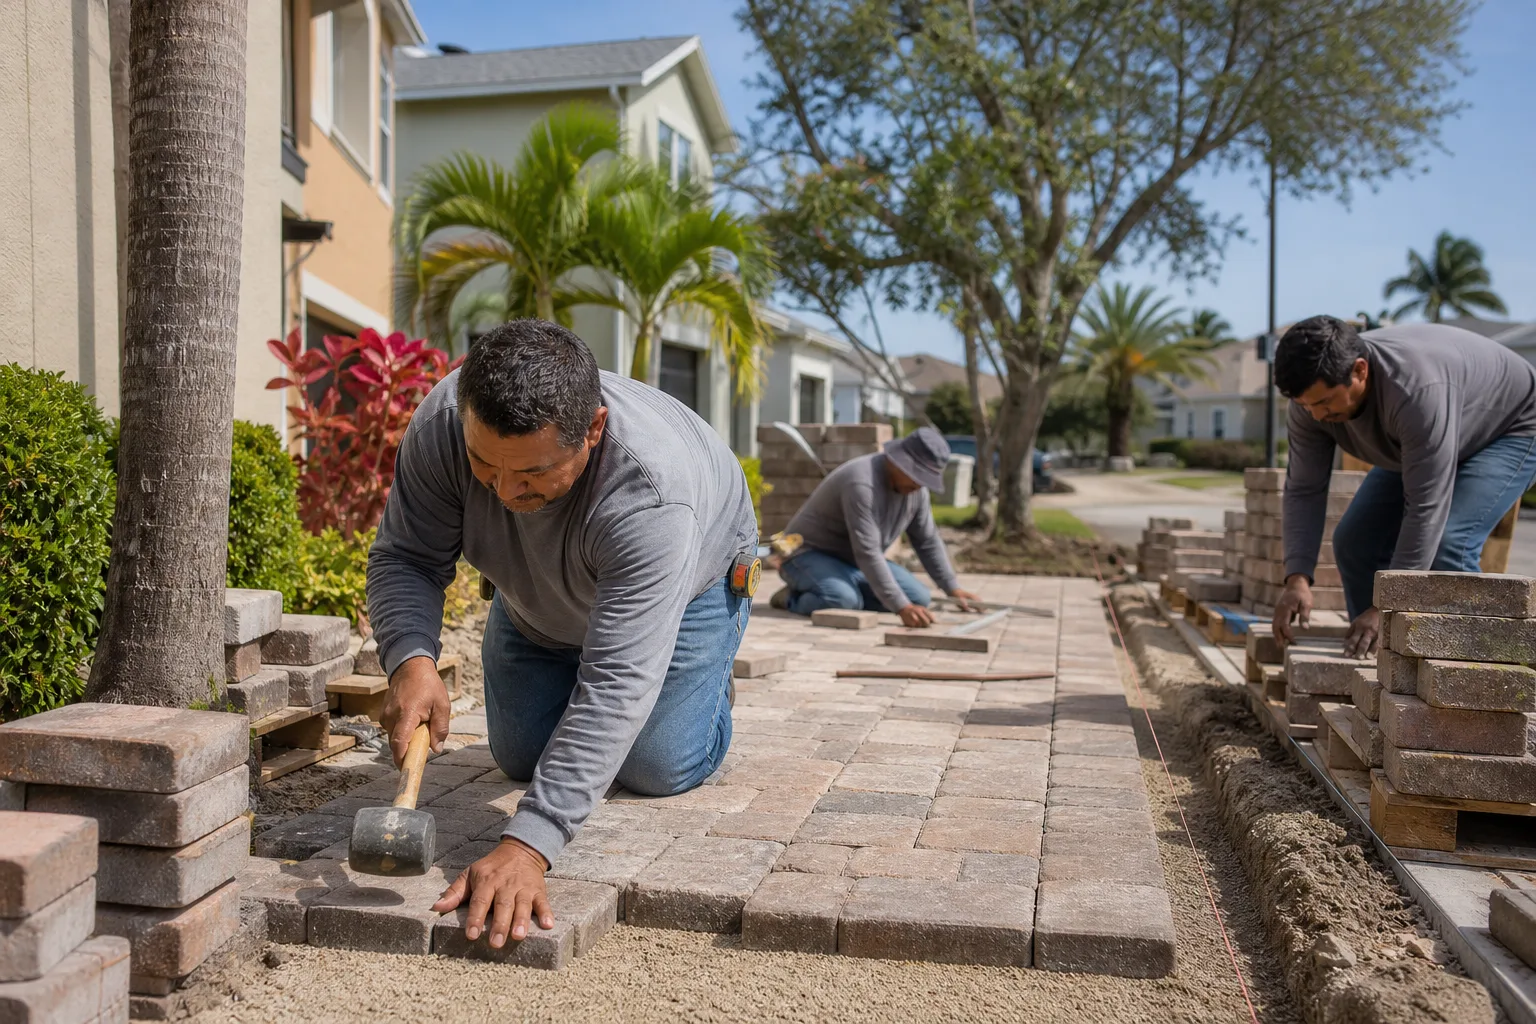
Paver repair costs in North Miami Beach typically break down by scope: single-paver resets and joint re-sanding run modestly; section rebuilds that involve base excavation and re-compaction run more, because the material and labor are both heavier. A drainage or grading fix is usually priced separately from the paver work. The most accurate way to price it is a free on-site estimate – the diagnosis tells you the scope, and the scope tells you the number. Call (844) 797-4868 for an exact quote – estimates are free.
Because the repair addressed the paver, not the base. A sunken paver that stays down after a reset means the compacted base under it is still failing, or water is still undermining that spot. The durable fix is to remove the pavers in the affected zone, excavate the failed base, re-compact with proper material and equipment, and re-lay. Patch jobs on a failing base come back within 18 months – the same pattern we see repeatedly in North Miami Beach driveways where the base was never the focus.
No – not on high pressure. High-pressure washing drives water into the pavers, which brings more mineral salts to the surface and returns the efflorescence in two to three weeks. It also erodes joint sand and loosens pavers. Use a masonry-specific efflorescence remover with a test patch first, then rinse with a garden hose. If efflorescence keeps returning, the real problem is moisture, and that’s a drainage question worth a professional look.
Press on the cracked paver. If it’s solid and doesn’t rock, the crack is likely cosmetic and the paver can be replaced. If it moves, sinks, or the crack pattern spreads to neighboring pavers, the base under it has failed and the crack is structural. Replacing the paver alone in that case just creates a new cracked paver later. When in doubt, get the diagnosis before you spend on the repair.
It depends on the scope. A paver reset or re-sanding generally doesn’t require a permit. Structural changes like a rebuild that alters driveway footprint, or drainage modifications that touch stormwater routing, may. Permitting rules vary by property and municipality, and our team pulls permits and passes inspections when the job requires it – that’s part of the free estimate conversation. If your driveway repair is a material structural rebuild rather than a maintenance task, ask the question upfront.
The dry season, roughly December through April, is the most forgiving window for base repairs and re-sanding because the sub-grade dries out enough to compact properly. That said, repairs happen year-round with good weather planning, and waiting through a rainy season on a failing base is risky – the water keeps working on the problem. If you’ve got a drainage issue going into summer, address it before the afternoon storms return.
The Bottom Line
Most paver problems start under the surface. Read the symptoms correctly – sinking pattern, joint condition, edge movement, puddle locations – and you can tell whether you’re looking at a bedding sand issue, a drainage issue, or a base failure. That distinction determines the fix, the cost, and whether the repair lasts. A paver reset without a diagnosis is a repeat appointment. Our approach at Groundwork Construction Co. of North Miami Beach starts with the assessment, because the number you see is the number you pay, and the work is covered by our 730-Day Done Right Promise. Read what your driveway is telling you. Then make the call.
Every project we quote is priced upfront with no change orders and backed by the 730-Day Done Right Promise – if it isn’t done right, we make it right. Our crews are background-checked, uniformed, and arrive ready to work. And with $1,000 off projects over $10,000 plus 0% financing for 18 months, a driveway repair that finally holds is a decision you can make without stretching the budget.
Call (844) 797-4868 to schedule your free estimate. A live person answers 24/7 – no voicemail, no waiting until Monday. Whether you need a paver section rebuilt, a drainage fix that ends the puddle cycle, or a full driveway assessment before the next rainy season, we’ll give you a straight answer on what’s wrong, what it costs, and what it takes to make it right. From foundation to finish line, we’re the crew that builds driveways built to last, backed in writing. Explore our full range of services on our Groundwork Construction Co. of North Miami Beach home page to see everything we handle.
Written by the team at Groundwork Construction Co. of North Miami Beach.