Last updated November 17, 2026


Free written scope consultation - allowances, timeline, and change-order rules on paper before a single trade is scheduled
Driveway & Pavers Warning Signs Every Homeowner Should Know
The most expensive driveway repairs in South Florida didn’t start as big problems. They started as a row of sunken pavers near the garage apron that someone drove over for two years without acting on. One paver becomes a dip, the dip becomes a trip hazard, and the trip hazard becomes a base failure that runs $8,000 to $14,000 in North Miami Beach. The signs are visual, measurable, and predictable. This guide shows you what to look for on your own driveway this weekend, how to tell normal settling from real failure, what discoloration actually means, and how to photograph what you find so a contractor can give you a straight answer before anyone knocks on your door.
Quick Answer
The warning signs of driveway and paver failure are a vertical drop of more than 1/8 inch between adjacent pavers, water that stands in the same low spot 24 hours after rain, white powdery residue that keeps returning, and gaps wider than 1/4 inch along the edge restraint. Any one of these means the base layer under your pavers has started to move, and the fix gets bigger and more expensive the longer you wait.
Styles & brands we work with
- Kitchen remodeling
- Bathroom remodeling
- Home additions & ADU
- Roofing
- Windows & doors
- Driveway & pavers
- Fence
Table of Contents
- Normal Year-One Settling vs. Progressive Base Failure
- Drainage Warning Signs Before Foundation Damage
- What Paver Discoloration Actually Means
- Edge Restraint Failure: Where Every Driveway Problem Starts
- Joint Sand Loss and the Weeds That Follow
- Cracks, Heaves, and What They Tell You About the Subgrade
- How to Photograph Warning Signs So a Pro Can Assess Remotely
- Repair or Replace? The Decision Framework
Normal Year-One Settling vs. Progressive Base Failure
Every new paver driveway settles a little in its first year. That’s physics, not a defect. The aggregate base compacts further under traffic, joint sand works its way down, and the whole field drops maybe 1/16 to 1/8 inch uniformly. What separates that from real failure is pattern and progression.
Normal settling is even across the field. Real failure is localized and gets worse. Here’s how to tell them apart with a straight edge and a tape measure:
- Uniform vs. isolated. Lay a 4-foot level across your driveway in five spots. If every spot shows the same 1/16-inch gap in the middle, that’s normal. If one spot shows 1/4 inch and another shows nothing, that’s failure.
- Directional pattern. Failure radiates from the edge restraint inward, or runs in a straight line from the garage apron outward. Normal settling doesn’t have direction.
- Progression over time. Mark the worst spot with chalk in March. Check it in June. If the dip is 1/4 inch deeper, the base is moving.
- Sound test. Tap a paver with the handle of a screwdriver. A hollow ring means the bedding sand under it has washed out. A solid thud means the paver is still seated.
- Year of installation. Settling past year two is not normal settling. By then the base has finished its initial compaction and any further movement is structural.
In North Miami Beach, we see more progressive base failure than any other market in the region because of our water table. The water table here sits high, sometimes as shallow as 18 to 24 inches below the surface on the eastern side of the city near the Intracoastal. When a driveway base was installed without proper geotextile fabric or with inadequate compacted depth, the base layer sits partially in the saturated zone during the wet season and loses bearing capacity. That’s why driveways in North Miami Beach neighborhoods like Eastern Shores and around Greynolds Park tend to fail faster than driveways a few miles inland in unincorporated Miami-Dade, where the water table is deeper.
A 2019 paver installation in North Miami Beach that was laid over 4 inches of base instead of the 6 inches our sandy soil calls for will show the dip pattern within three to four years, not ten. When you look at a driveway in this city, you’re really looking at how well the base was built. The pavers are just the messenger.
Drainage Warning Signs Before Foundation Damage
Water is the leading cause of driveway failure in South Florida, and it leaves a trail you can read. The problem is most homeowners only notice the water after it’s already caused a problem indoors. Here’s how to spot drainage-related failure on your driveway before it reaches your foundation.
The 24-hour rule. After any rainfall over 1/4 inch, walk your driveway 24 hours later. Any standing water or visibly saturated joint lines count as a drainage failure. A driveway that drains properly is dry to the touch within four to six hours of a normal summer thunderstorm. Our wet season runs May through October, and during that window a North Miami Beach driveway that pools has a compounding problem: every storm adds water pressure behind the edge restraint and softens the base further.
Where to look for pooling:
- Against the garage apron. Water that stands in the transition between the driveway and the garage slab is the single most common drainage failure we see in North Miami Beach. It usually means the driveway slope was built too flat against the house, so water has nowhere to go but sideways into the foundation wall.
- Against the edge restraint on the low side. If water pools against your edge restraint on one side of the driveway, the base is compressing at that point and creating a bowl. Check with a level: the depression is usually 1/2 inch to 1 inch deep.
- Alongside the sidewalk or swale. Properties that drain to the street need a minimum 1.5% slope (about 3/16 inch per foot) away from the house. If the pool is at the street end, the driveway has lost slope.
- In a pattern that follows the joints. Water that stands in the joint lines between pavers rather than the whole field means the joint sand is gone and the drainage is no longer sheet flow, it’s channelling into the base.
Direction test. Pour a 5-gallon bucket of water at the top of the driveway and watch it travel. It should reach the street or a drain within 30 seconds. If it takes more than a minute, or if it stops somewhere in the middle, the slope has failed. That’s a sign the base has settled unevenly and needs correction, and it’s rarely a problem you can fix by adding sand to the joints.
If the pooling has been ongoing for a year or more, the water has also been working on your foundation. That’s when a driveway problem becomes a foundation and waterproofing problem, and the cost multiplies. Address it early. Our Groundwork Construction Co. of North Miami Beach home team regularly fields calls about exactly this issue in neighborhoods from Highland Lakes to Skylake, and the message is always the same: what looks like a driveway fix is usually a drainage and base fix, and it needs to happen before the water reaches your slab.
What Paver Discoloration Actually Means
Discoloration on a paver driveway isn’t cosmetic. It’s a diagnostic. The color, pattern, and location tell you which of four very different problems you’re looking at, and each has a different fix and a different price. Here’s how to read them.
White, powdery, chalky residue: efflorescence. This is mineral salt that wicks up through the paver from the base and dries on the surface. It appears as a white haze, usually in patches, and often comes and goes with weather. Efflorescence by itself is not a structural problem, but its presence means moisture is moving through the pavers from the base. If it keeps coming back after a proper cleaning, it means water is trapped in the base and the drainage has failed. Persistent efflorescence in North Miami Beach is almost always a drainage symptom, and the fix is under the driveway, not on top of it.
Dark, irregular stains: oil or organic contamination. Dark patches that don’t wash off and don’t follow a pattern are usually oil, fertilizer, or leaf-tannin stains. These are cosmetic. You can tell them from failure simply by the shape: contamination has irregular edges and follows drips and spills, while base failure follows joints and edge lines.
Faded or dull finish across the whole field: sealer breakdown. If the color looks uniformly washed out and the surface feels chalky rather than slick, your sealer has worn off. In our climate, a paver sealer in North Miami Beach lasts two to four years, not the five to seven years the product label suggests, because UV exposure and salt air are brutal on the film. Sealer breakdown is not a structural problem, but it exposes the pavers to more water absorption and makes efflorescence worse. Reseal before the surface starts to weather.
Flaking, pitting, or crumbling edges: paver spalling. This is the serious one. Spalling means the top 1/8 to 1/4 inch of the paver is separating or chipping away. You’ll see it as flaking layers, exposed aggregate, or crumbly corners. Spalling is a physical failure of the paver itself, and it’s usually caused by freeze-thaw (rare here) or water forced into the paver body by a failed sealer combined with a bad base. In North Miami Beach, we see the worst spalling on driveways that sat unsealed for five-plus years with poor drainage. Spalling pavers cannot be repaired, only replaced.
Match what you see to the list above. If you’re dealing with the first sign (efflorescence with recurrent drainage), a base assessment is the priority. If it’s the fourth sign (spalling), talk to us about a paver replacement because the failed pavers will keep failing.
Edge Restraint Failure: Where Every Driveway Problem Starts
The edge restraint is the concrete or plastic curb that runs around the perimeter of your paver driveway and holds everything in place. It’s the least glamorous part of the installation and the most important. When the edge restraint fails, the entire field starts to spread outward, joints widen inward, and the driveway starts to disassemble itself from the perimeter. The signs appear at the edges first.
What to look for along your driveway perimeter:
- Gaps wider than 1/4 inch between the edge restraint and the adjacent paver. The joints along the perimeter should be tight, at most 1/8 inch. Wider than that means the edge is moving away from the field.
- Vertical lift at the edge. If the edge restraint has risen 1/4 inch or more above the paver next to it, the soil under the edge has swelled or eroded. In our sandy North Miami Beach soil, this is usually erosion from water running along the property line.
- Lateral movement of the edge inward. If the edge restraint has shifted and the pavers next to it are bulging up or tilting, the field is under compression. Wait three months and check again. If the bulge has grown, the base is failing.
- Cracks in a concrete edge restraint. A cracked edge is no longer holding anything. Water gets into the crack, washes out the subgrade, and the whole edge drops.
- Pavers that push together and create “tents.” A row of pavers that has lifted 1/2 inch or more in a ridge, usually perpendicular to the driveway direction, is the clearest sign that the entire base under that area is failing.
Check the perimeter carefully, especially on the side of the driveway that gets the most runoff. That’s usually the side facing downhill from the house, or the side next to a neighbor’s property where the grading may have shifted.
Edge restraint failure is progressive. The curb moves a quarter inch this season, half an inch next year, and by year four the entire driveway needs a base repair and rebuild. If you catch it early, edge restraint replacement is a manageable job. If you wait, you’re looking at the full driveway rebuild. Our teams handle Driveway & Pavers in North Miami Beach and see both sides of this every week; the difference between an $800 edge repair and a $12,000 rebuild is almost always the year the homeowner ignored the perimeter.
Joint Sand Loss and the Weeds That Follow
Joint sand is the layer between your pavers that holds them in place and interlocks the whole field. It’s the first thing that fails on any paver driveway, and it’s usually the first sign of a bigger problem. If you can push a screwdriver into a joint and it sinks more than 1/2 inch before stopping, that joint has lost its sand.
What joint sand loss looks like:
- Visible gaps between pavers. You should not be able to see down the joint. If you can see the sand bed or the base layer below, the joint sand is gone.
- Weeds and grass growing out of the joints. No weed grows where the sand is intact. Weeds in the joints, especially persistent ones that come back every spring, mean the sand is at least 1 inch down.
- Ants or other insects digging out of the joints. Fire ants and other species love a joint with loose sand. If you see mounds between pavers, the joint structure is compromised.
- Joint sand that washes out after a storm. If a heavy rain leaves the joints visibly empty and you see sand in a pile at the bottom of the driveway, the sealer or stabilizer is gone.
Joint sand loss on its own is a straightforward fix: sweep in new polymeric sand and re-stabilize. But if it keeps happening after two or three re-sandings, the base is washing out from below and dumping sand into the subgrade. In our experience in North Miami Beach, joint sand that won’t stay put after a proper refill is the earliest sign of a drainage failure at the subgrade level, and it’s worth investigating before it becomes a larger problem.
Refill joints with polymeric sand, not plain sand, in our climate. Plain sand washes out faster in the wet season. Polymeric sand locks the pavers together and reduces the wiggle that lets water in.
Cracks, Heaves, and What They Tell You About the Subgrade
Cracks in your driveway surface and ridges that lift in a line are the two clearest signals that the subgrade under your base has shifted. In North Miami Beach, we see three distinct patterns, and each points to a different cause and a different fix.
Pattern 1: A single long crack running from the garage apron outward. This is almost always a base failure at the transition between the garage slab and the paver field. The two materials settle at different rates, and when the transition joint isn’t properly secured, the pavers adjacent to the slab cantilever and crack. The fix is typically to rebuild the first 4 to 6 feet of the driveway from the apron out, not the whole driveway.
Pattern 2: Ridges or “tents” perpendicular to the driveway direction. A row of pavers lifting into a ridge means the base beneath that row has lost bearing capacity and the field is compressing into the gap. In North Miami Beach, this usually follows a wet season where the water table stayed high for weeks. The base layer in the middle of the driveway has remained saturated and can no longer support the traffic load. Rebuilding the ridge area and improving the base drainage is the standard repair.
Pattern 3: Hairline cracks across multiple pavers, following a spiderweb pattern. This is often a sign of root intrusion from a nearby tree, most commonly from ficus, royal palms, or oaks. In North Miami Beach properties with mature ficus hedges within 10 feet of the driveway, root pressure is a common cause of paver cracking. The repair involves root barrier installation and paver replacement at the affected zone, not a full driveway rebuild.
Look at your driveway at the end of the wet season (October or November) rather than in the middle of it. Failure patterns are most visible after the base has finished its seasonal cycling, and you’ll see the true settling, not the temporary water-driven expansion.
If you have a crack that’s been growing for more than a year, or a ridge that has lifted 1/2 inch or more, that’s a structural issue. If it’s a set of cracks that appeared suddenly after a storm and haven’t grown, that may be a temporary weather issue and worth watching for a few months. When in doubt, get a base assessment.
How to Photograph Warning Signs So a Pro Can Assess Remotely
Most homeowners skip the photo step, then get an in-person estimate that costs everyone hours and doesn’t answer accurately. If you photograph the right things, a contractor can tell you whether your problem is a $400 fix or an $8,000 rebuild before they visit the property. Do this over the weekend. It takes 15 minutes and saves a lot.
What to photograph, in order:
- An overhead or “context” shot. Stand at the street and shoot the whole driveway in landscape. This gives a pro the layout, the slope, and the relationship to the house, garage, sidewalk, and any trees or landscaping. Shoot with the sun behind you so the surface detail is visible.
- The worst problem area, close-up. Get within 18 inches of the issue and shoot straight down. Include an object of known size next to it (a quarter, a ruler, a coin) so the depth or gap can be measured.
- The problem area at an angle with a straight edge. Lay a 4-foot level or a straight piece of lumber across the dip or crack and shoot along the edge with a tape measure visible in the frame. This shows the actual depth of the depression.
- The edge restraint on all four sides. Shoot the perimeter at a low angle (camera at paver height) along each edge. This reveals lift, gap width, and lateral movement.
- The joint lines. Shoot one photo straight down at a joint line where you see a gap, with a coin for scale. This lets a pro measure the joint width.
- The drainage evidence. After the next heavy rain, shoot the standing water locations, then shoot the same spots 24 hours later. The comparison shows whether the water is draining, and how slowly.
- Photo with a tape measure or level for every problem. Without scale, a photo can’t answer the question “is this a quarter inch or two inches?”
Take these photos in daylight, no filters, and no cropping. Send them with a description of when you first noticed the issue and how long it’s been growing. A good contractor can give you a realistic range before the site visit, and the site visit confirms it. Our technicians have handled enough North Miami Beach driveways to read a photo set in a couple of minutes, and it means you’re not guessing about the scope of the problem before you even meet anyone.
For broader property repairs, the same documentation approach works for any part of the home. Our Fence Installation in North Miami Beach and Home Additions & ADU in North Miami Beach teams use the same “photograph with scale” rule for anything perimeter-related.
Repair or Replace? The Decision Framework
The biggest question after spotting warning signs is: do I repair or replace? Most homeowners over-replace, spending $8,000 to $14,000 on a full driveway rebuild when a $1,500 base repair would have solved the problem. Others under-replace, spending $800 on a patch job that fails within a year. Here’s the framework.
Repair (typically $400 – $2,500 in the North Miami Beach market):
- One isolated dip that’s under 1/2 inch deep and hasn’t grown in the last 12 months.
- Joint sand loss without visible base failure or ridge lines.
- A single cracked paver near the garage apron with no crack propagation.
- Edge restraint lift of less than 1/4 inch on one side.
- Efflorescence that clears after a proper cleaning and does not return within a season.
Repair with drainage correction (typically $2,000 – $5,000):
- Pooling water at the garage apron or low side that persists 24 hours after rain.
- Joint sand that washes out within a season or two after refilling.
- Multiple dips that all run along the same edge or drainage line.
- Efflorescence that returns after cleaning on an annual basis.
Replace (typically $8,000 – $16,000 for a two-car driveway in North Miami Beach):
- Three or more ridges or “tents” throughout the field.
- Spalled pavers across 25% or more of the surface.
- Base failure confirmed by multiple locations of hollow or drifting pavers.
- Edge restraint that has moved 1/2 inch or more and taken the field with it.
- A driveway that was installed with under 4 inches of compacted base in this market.
Those price ranges are for planning. The actual number depends on the square footage, the access, and the material you choose. Belgard and other premium paver lines cost more than standard grey concrete pavers, and the difference is worth it in this climate because the color and finish hold up better to UV exposure. Ask for a written line-item estimate: base depth, sand, pavers, edge restraint, and drainage correction should be listed separately so you can see what you’re paying for.
When a replacement is the right answer, do the base right. In North Miami Beach, that means 6 inches of compacted aggregate base, geotextile fabric under the base to prevent migration of the fine sandy soil upward, and proper drainage slope established before the pavers are laid. Skip any of those steps and you’ll be looking at the same warning signs again in four years. We never shortcut those steps, and if we ever do, the 730-Day Done Right Promise covers the work.
Common Mistakes to Avoid
- Treating any settling as “normal.” Settling in year one is normal. Settling in year three, or settling in a localized area, is base failure. Most homeowners wait for a visible crack because they’ve been told settling is fine, and by then the fix is three times the cost.
- Filling the dips with sand or topsoil. This is the single most common mistake we correct. Adding sand to a settling paver covers the symptom and adds pressure to the base. It creates the illusion of a flat driveway and hides the failure progression.
- Power-washing the discoloration. High-pressure washing strips the sealer and drives sand out of the joints. In North Miami Beach, where the soil is already sandy and the water table is high, this makes joint sand loss worse. Spot-clean with a gentle cleaner and a soft brush.
- Ignoring efflorescence because “it’s just cosmetic.” Efflorescence itself is harmless, but if it keeps coming back after cleaning, it means water is moving through the base. Persistent efflorescence is a drainage warning, not a surface issue.
- Waiting until the wet season to inspect. Inspect in October or November after the rainy season, when the base has finished its seasonal movement. Inspect in July and you’ll misread the temporary expansion for a permanent problem.
- Not photographing with scale. A photo of a crack tells a contractor almost nothing. The same crack with a quarter next to it lets us measure the width and estimate the repair cost. This is why we ask for coin-in-frame photos on every driveway inquiry.
- Replacing the whole driveway when a repair would do. We see this frequently on newer homes in North Miami Beach where the driveway is only eight to ten years old. The base is fine; the perimeter has failed. A perimeter rebuild costs a fraction of a full replacement and gets you another 15 years.
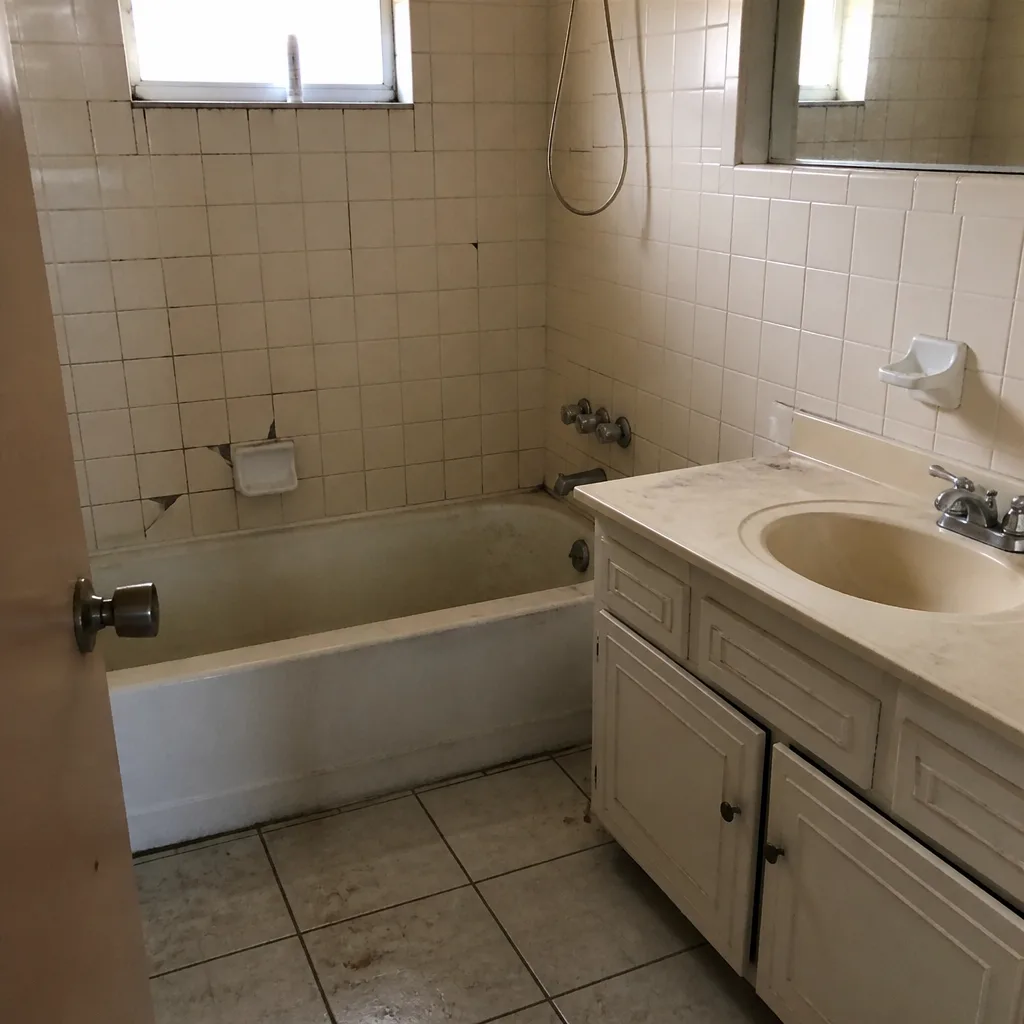
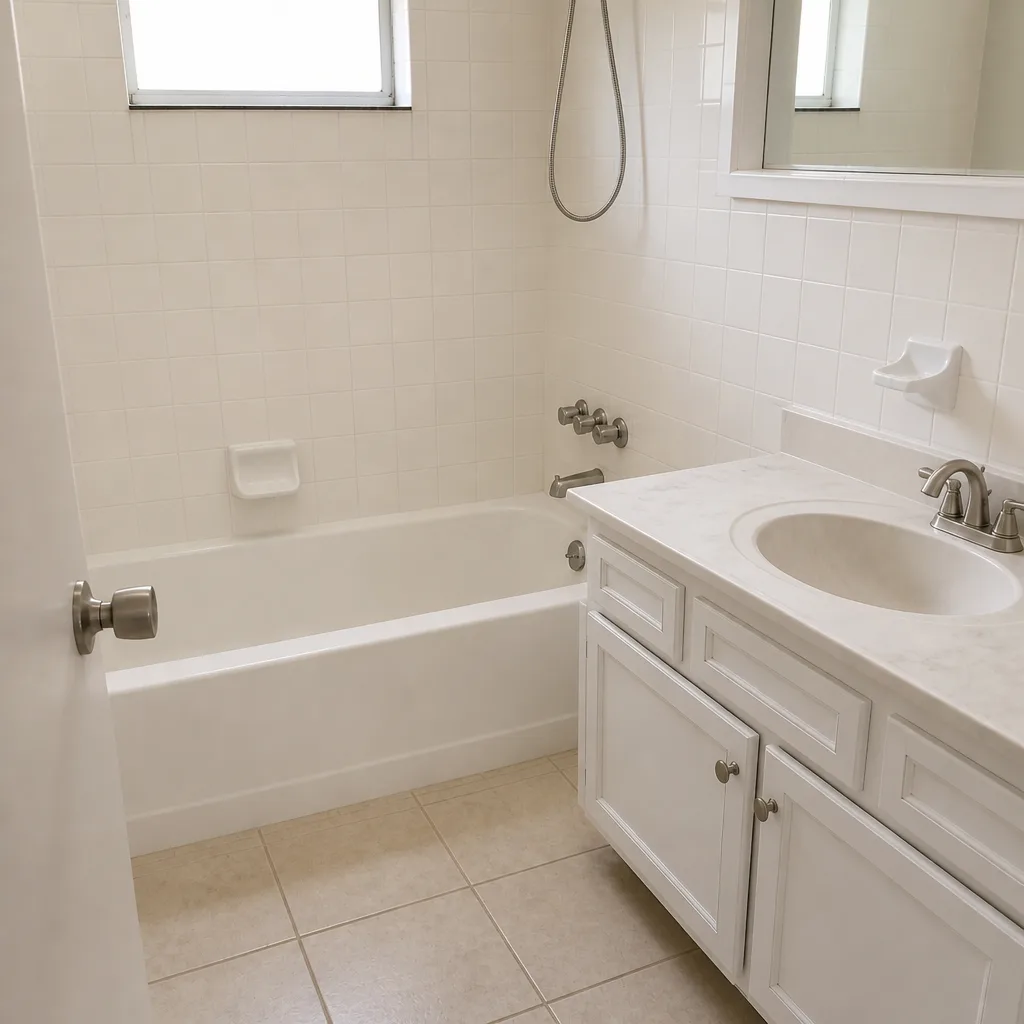
See the difference
 Before
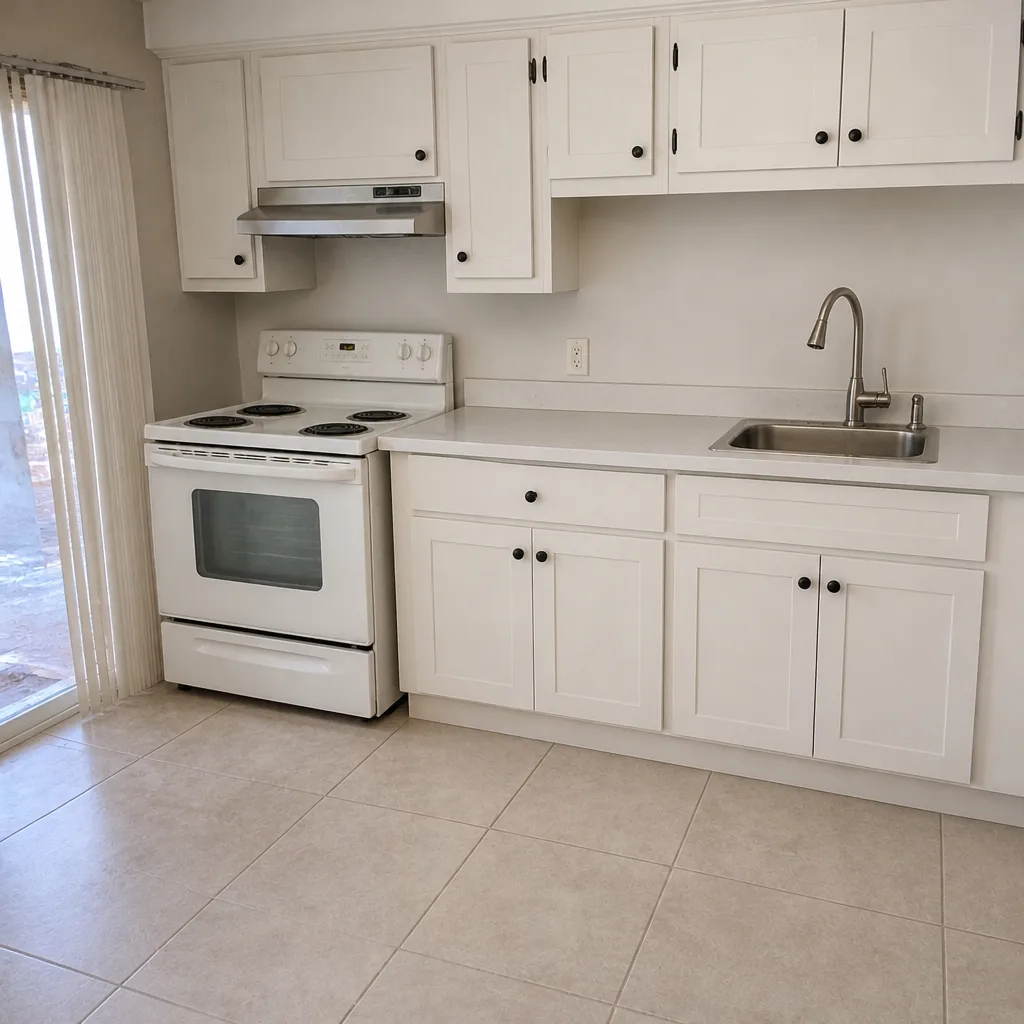 After
 Before
 After
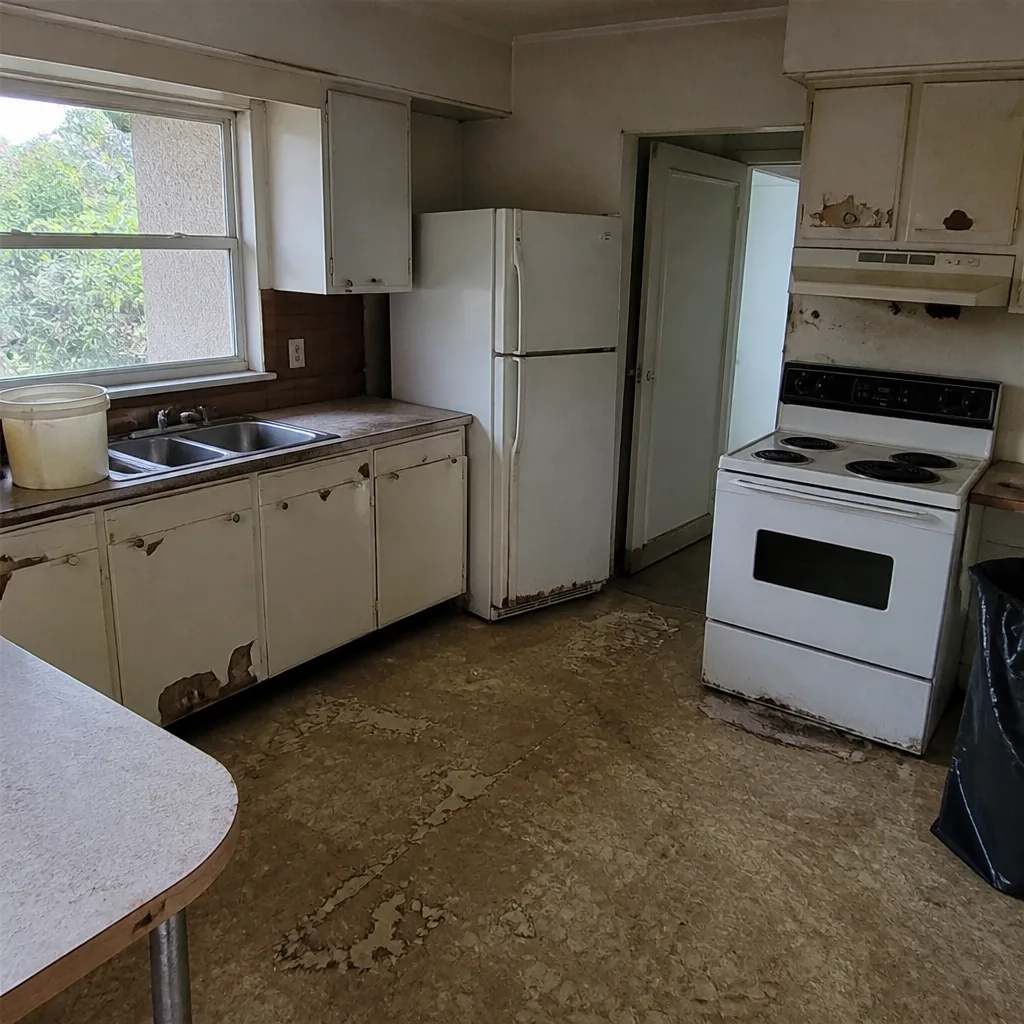 Before
 After
When to Call a Professional
Call a professional when the warning signs cross any of these thresholds: standing water at the garage apron that stays for 24 hours after rain, ridges or “tents” lifting 1/2 inch or more anywhere in the field, edge restraint movement of 1/4 inch or more, spalling across more than a few pavers, or any dip you can feel in the steering wheel when you drive over it. Also call if a warning sign has grown over the last six months; growth means active base failure. Early action is what separates a $1,500 repair from a $14,000 replacement. Groundwork Construction Co. of North Miami Beach offers free estimates in North Miami Beach; call (844) 797-4868 to schedule a walkthrough and get a written line-item quote before you commit to anything. Our technicians bring tape measures, straight edges, and a written assessment, not a sales pitch.
Frequently Asked Questions
Driveway paver repair in North Miami Beach typically runs $400 to $2,500 for an isolated issue, $2,000 to $5,000 for drainage correction, and $8,000 to $16,000 for a full replacement of a two-car driveway. The price depends on square footage, the depth of the base failure, and the paver material. Premium lines like Belgard cost more upfront but hold their color longer in our UV exposure. Call (844) 797-4868 for an exact quote; estimates are free.
Normal settling is uniform across the driveway and settles 1/16 to 1/8 inch in the first year. Base failure is localized, grows over time, and usually starts at the edges or at the garage apron. Lay a 4-foot level in five spots: if every spot shows the same small gap, it’s settling. If one spot shows 1/4 inch and another shows nothing, the base is failing. Call (844) 797-4868 to schedule a free assessment before you spend money on the wrong fix.
The white powder is efflorescence, mineral salt that has wicked up from the base and dried on the surface. If it appears once and clears with cleaning, it’s cosmetic. If it keeps coming back after two or three cleanings, it means water is trapped in the base or moving through your driveway, which points to a drainage failure. Persistent efflorescence on a North Miami Beach driveway usually needs a base inspection, not just another wash. Call (844) 797-4868 for a free drainage assessment.
You can lift a single paver and reset it with sand and a rubber mallet, but if the paver drops again within a few months, or if two or more pavers in the area are affected, the base is failing and DIY resetting won’t fix it. We’ve seen homeowners reset the same paver three times over two years, then find out the actual fix was a base rebuild that cost less than the time they spent. Call (844) 797-4868 to get a free estimate and a straight answer on whether the fix is a DIY reset or a base repair.
A paver driveway in North Miami Beach should be sealed every two to four years, not the five to seven years the product label suggests. The UV exposure and salt air here break down the sealer film faster than in most of the country. A faded, chalky surface means the sealer is gone. Reseal before the pavers start to absorb water and weather, which is when spalling can start. Call (844) 797-4868 to schedule a free set of before-and-after photos to assess whether it’s time.
Signs of edge restraint failure: gaps wider than 1/4 inch between the curb and the adjacent paver, vertical lift of the curb above the field, lateral movement of the curb inward, or cracks in a concrete edge restraint. Look at the perimeter on all four sides at paver level (camera at ground height) and shoot photos with a coin for scale. If any gap is wider than 1/4 inch, or if you can see the curb lifting, that’s edge failure. Call (844) 797-4868 for a free assessment and a written quote.
The Bottom Line
Your driveway is telling you what’s wrong with it, and the warnings follow a pattern. Uniform 1/8-inch settling in year one is normal. Localized dips that grow, standing water 24 hours after rain, recurring efflorescence, edges that lift or open 1/4 inch, ridges that tent, and spalling pavers are all signs of base failure that gets more expensive every month you wait. Catch the warnings early and you’re looking at a $1,500 repair. Miss them and you’re looking at a $14,000 replacement. Photograph the problem with scale, check the perimeter first, and call a contractor before the fix escalates. Our 730-Day Done Right Promise covers every driveway and paver project, and we put that in writing because the base work is what we stand behind.
Groundwork Construction Co. of North Miami Beach works with homeowners across North Miami Beach on driveways, pavers, and full-scope exterior construction, from foundation to finish line. Trusted brand partners include Belgard, Kohler, and Delta for premium products across our service lines. Live person, 24/7, on every call, with upfront pricing and no surprises. Call (844) 797-4868 to schedule a free estimate, or reach out for our current promotions: $1,000 Off Projects Over $10,000, Free Project Estimate & Design Consult, and 0% Financing for 18 Months. Our technicians have up to 12 years of experience and arrive background-checked and in uniform on every job.
Written by the team at Groundwork Construction Co. of North Miami Beach.